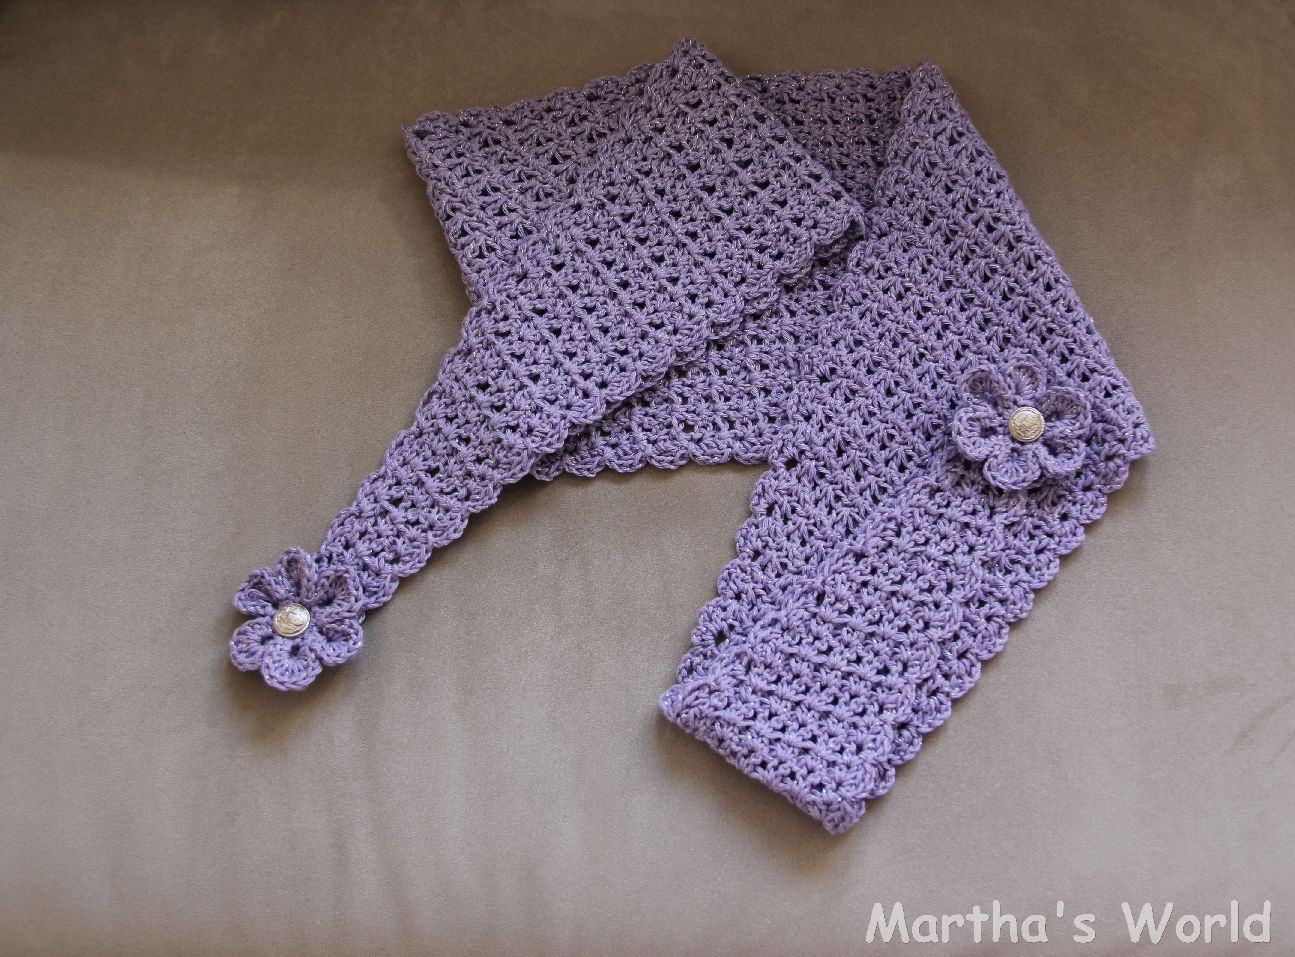
If Road Trip Scarf (RTS) was ‘THE little black dress of 2014’ amongst crocheters, Rally Scarf could be one of “THE Gems of 2015′. I think the pattern hasn’t been properly discovered. Yet.
Both patterns were designed by Zelna Olivier of Zooty Owl . I like her designs – because they are all simple and truly unique. One look, and you know ‘It is Zelna’. I make my ‘Zelna’s’ without famous braids, and they are still ‘Zelnas’.
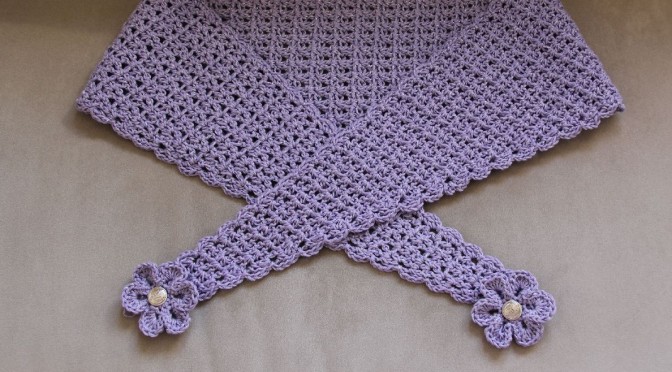
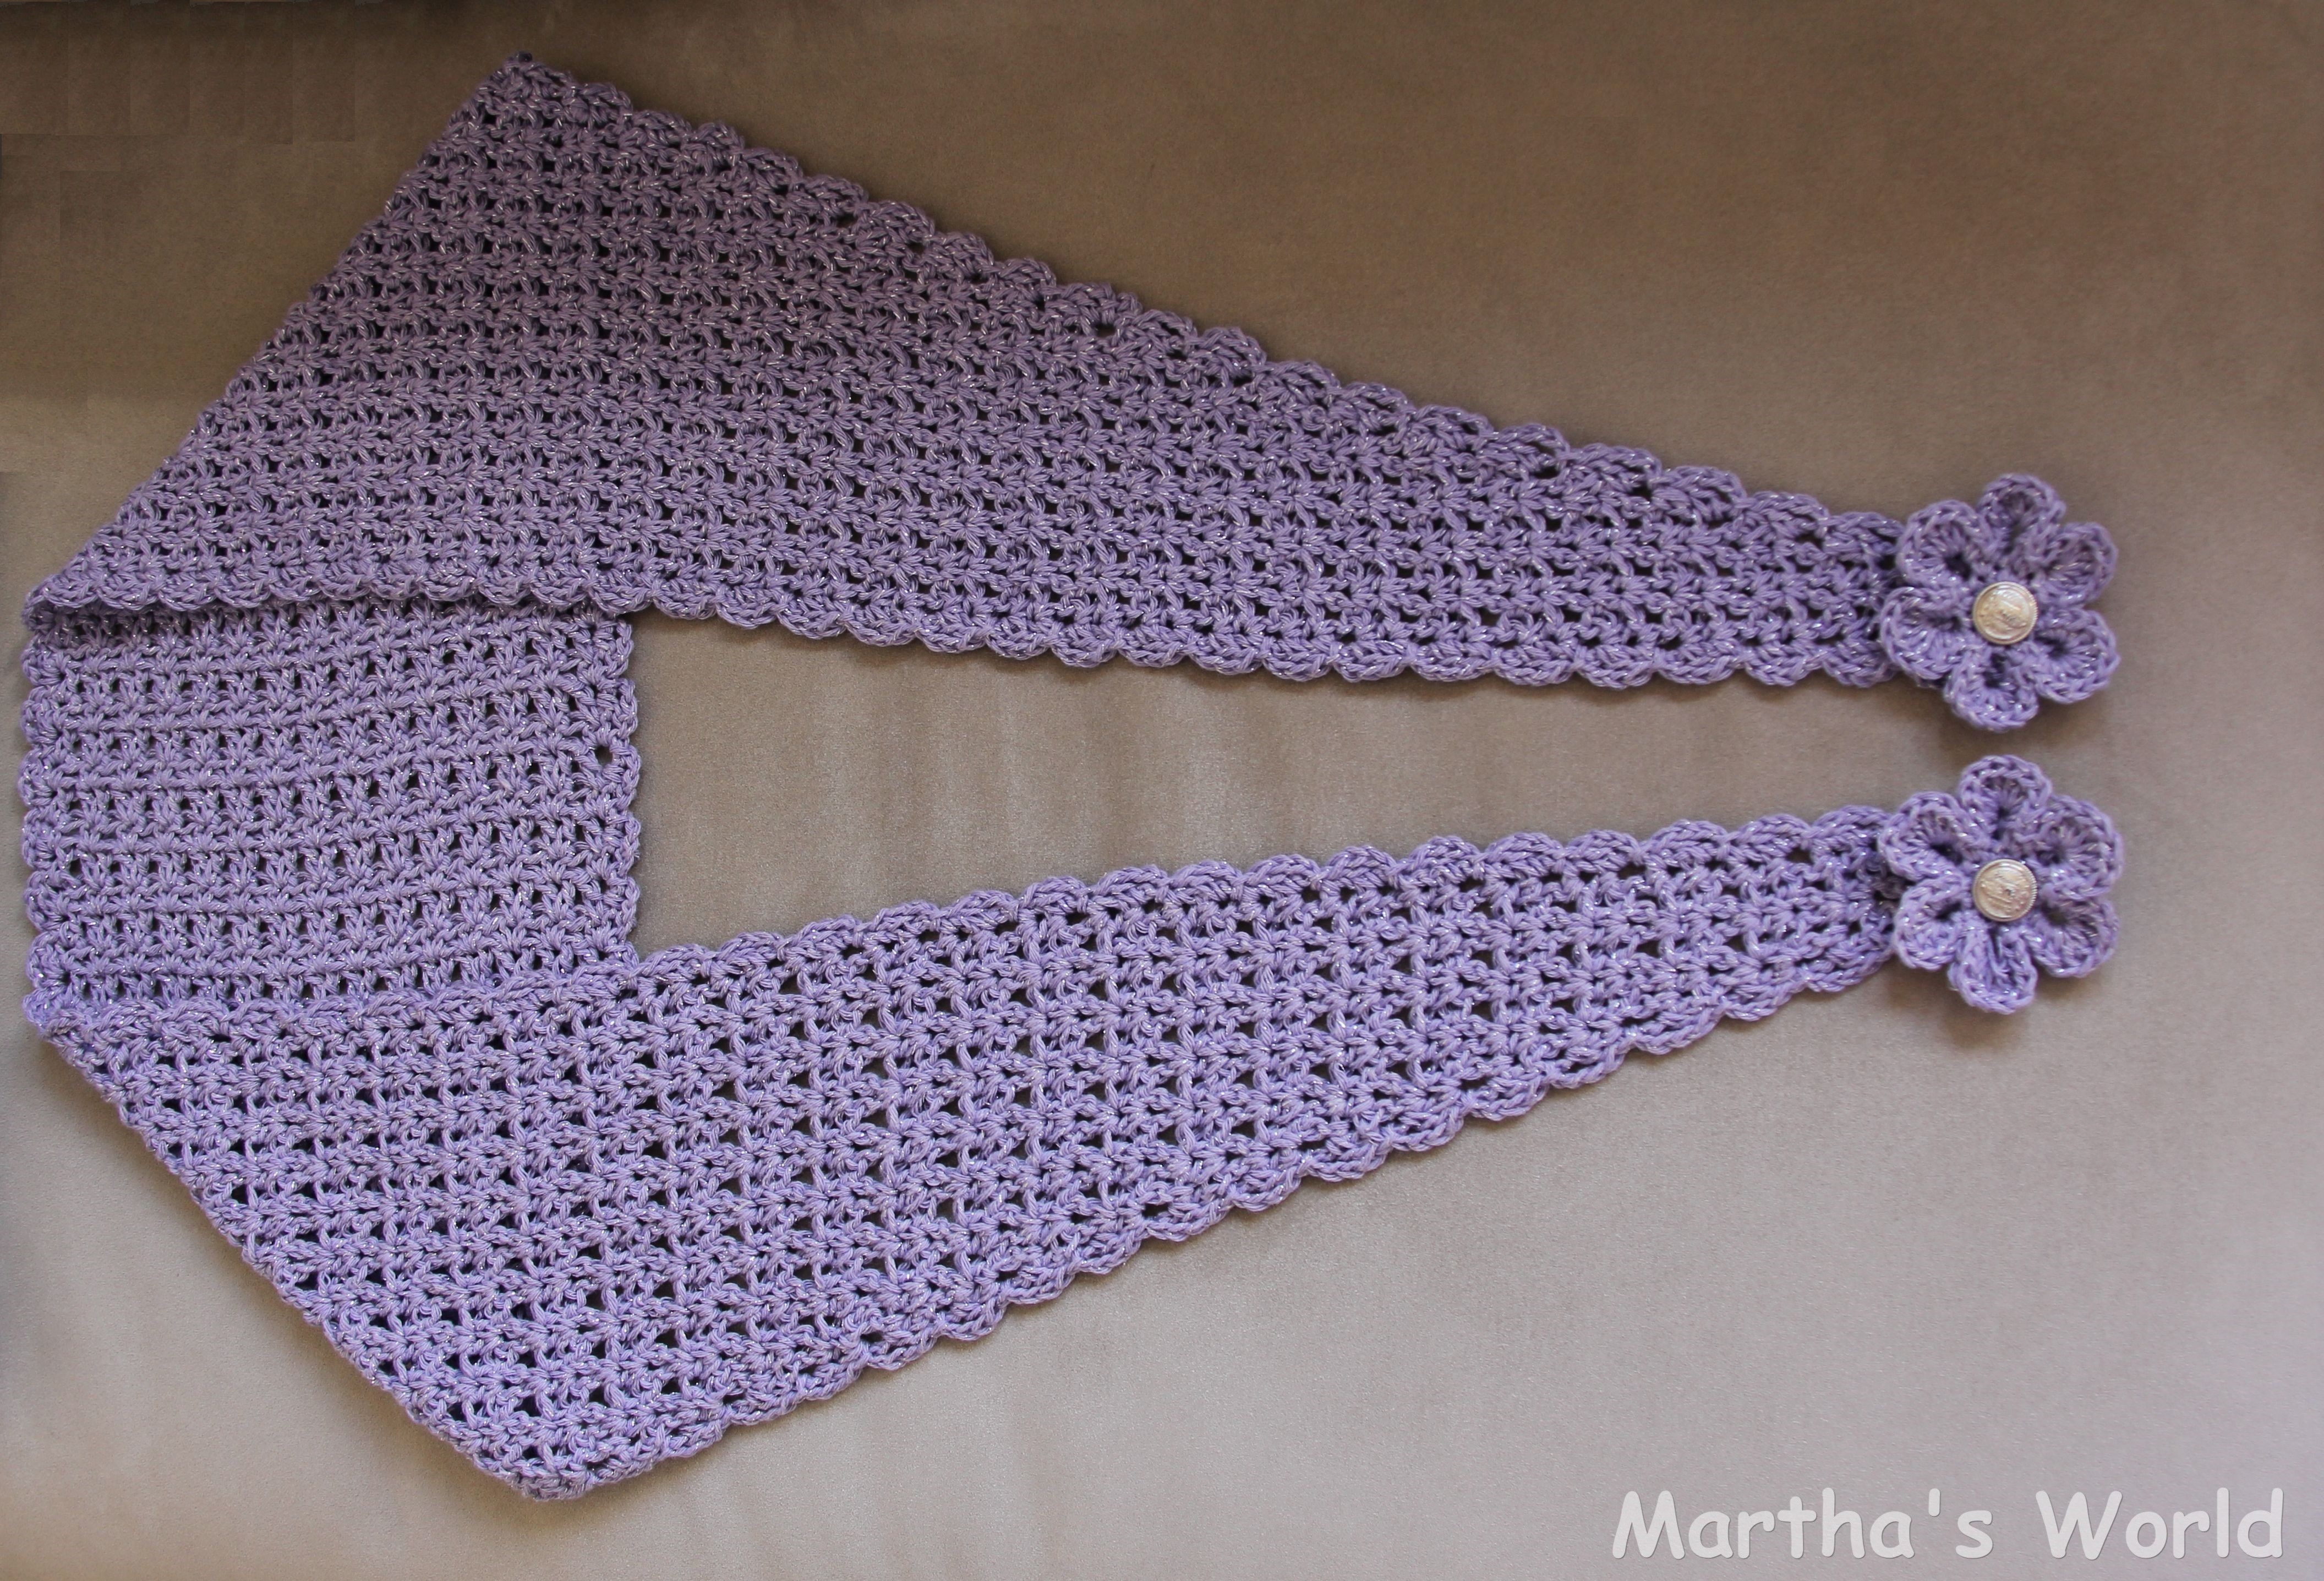
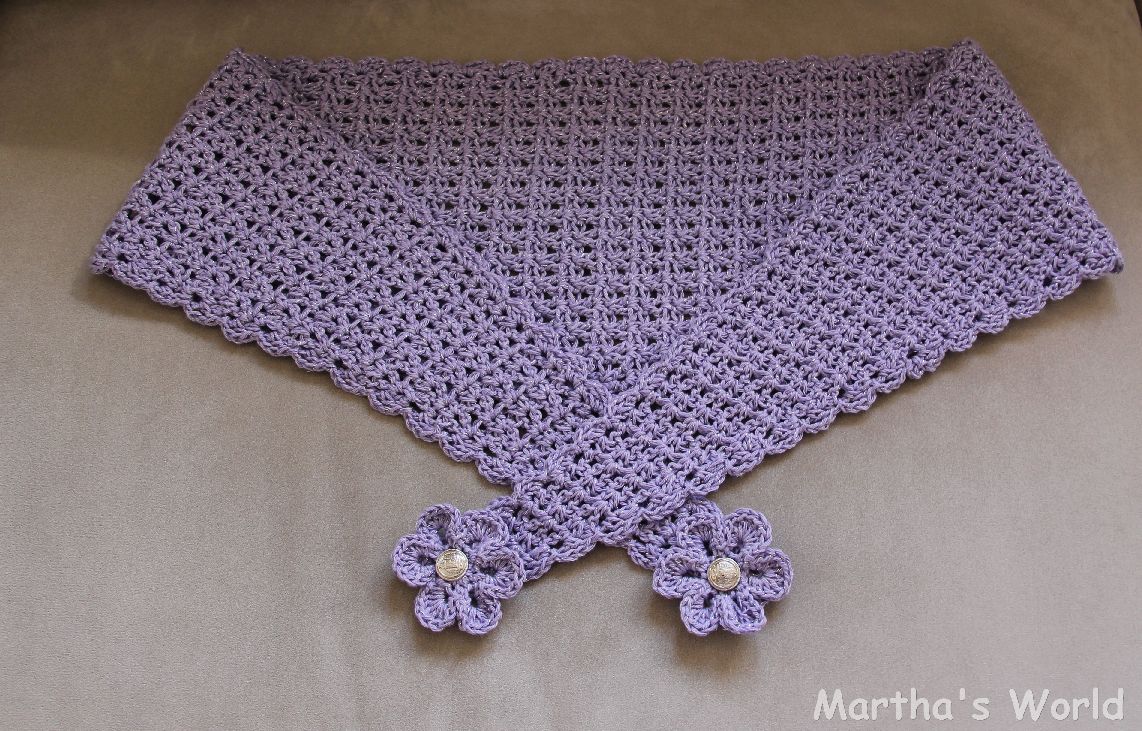
For Rally scarf you’ll need 50 to 100 grams of yarn, eventually two buttons, and that is all. If you haven’t used the V-stitch until now, you missed a lot!
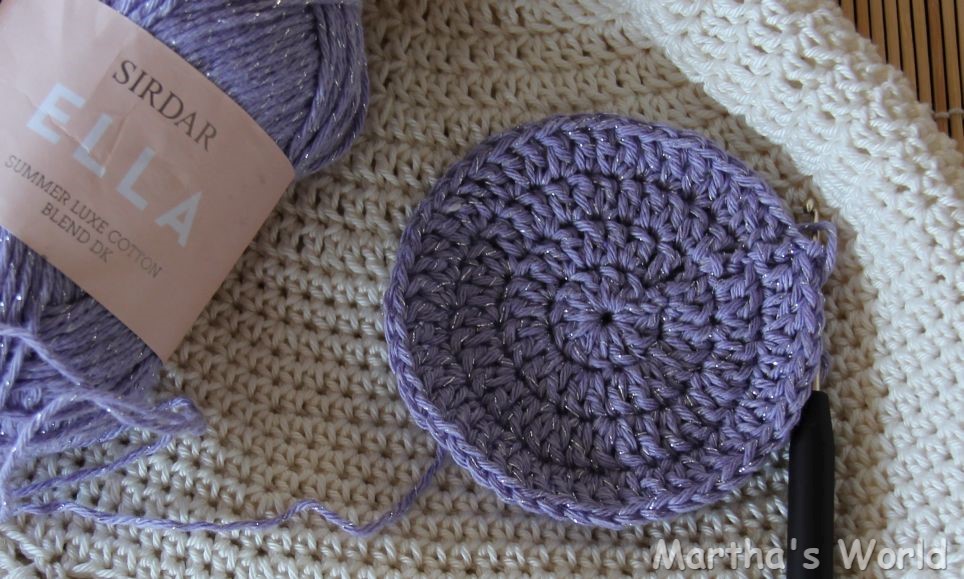
About this particular yarn … how do I say – it is … ummmm … ‘light, but heavy’? ‘It drapes nicely’ is probably better way to explain 🙂
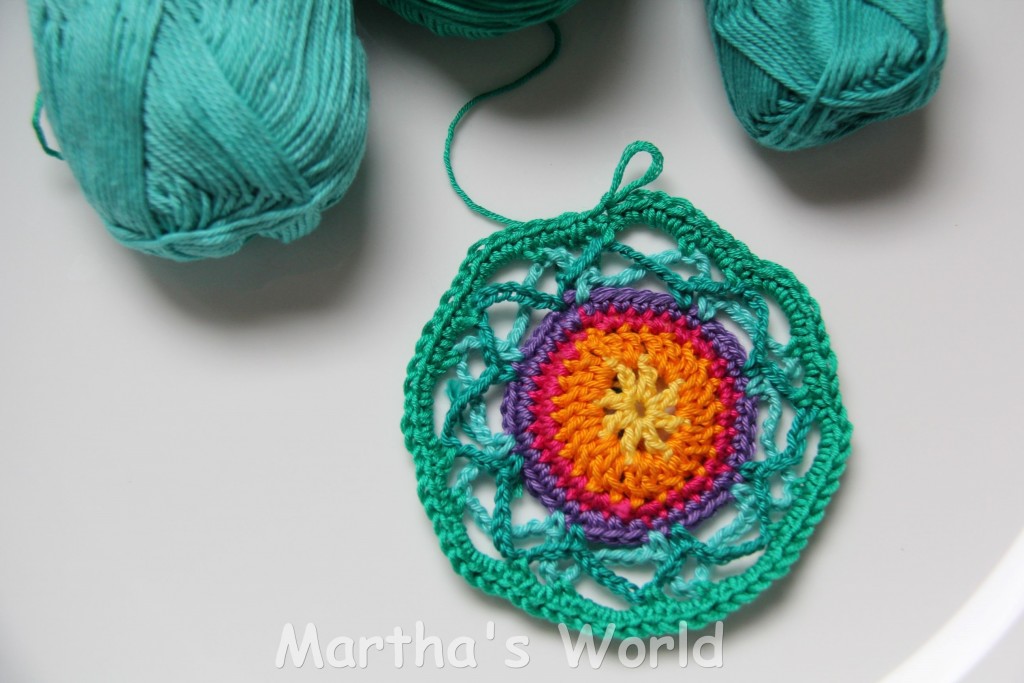
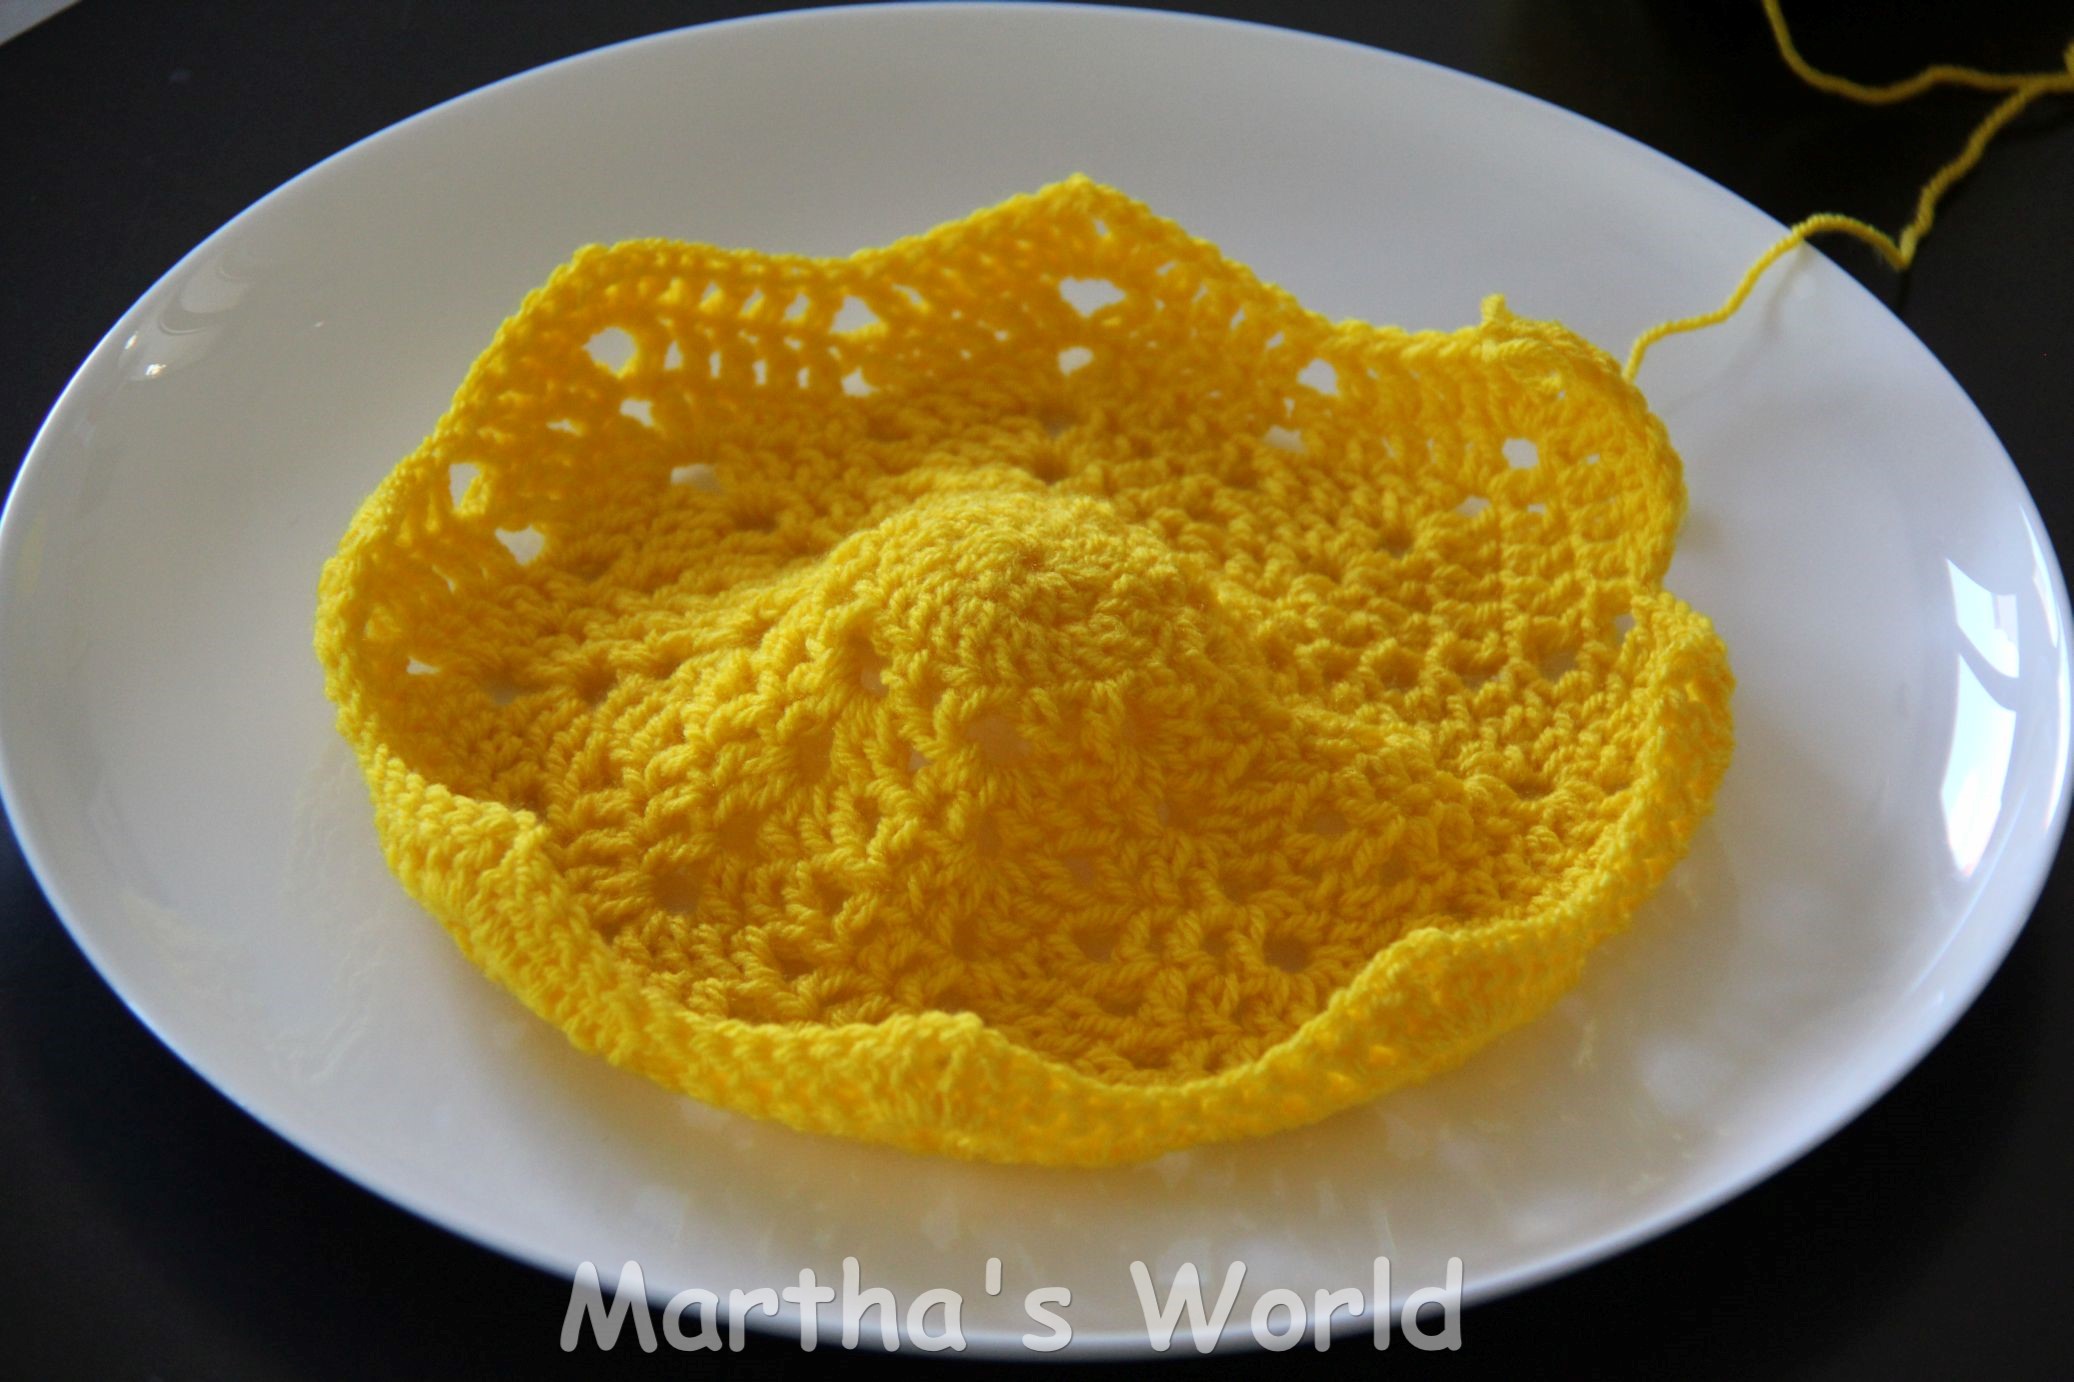
With every new yarn I make a little ‘test circle’ because I need to see how it feels and behaves. (And because I ♥ taking photos of my yarn! LOL!)
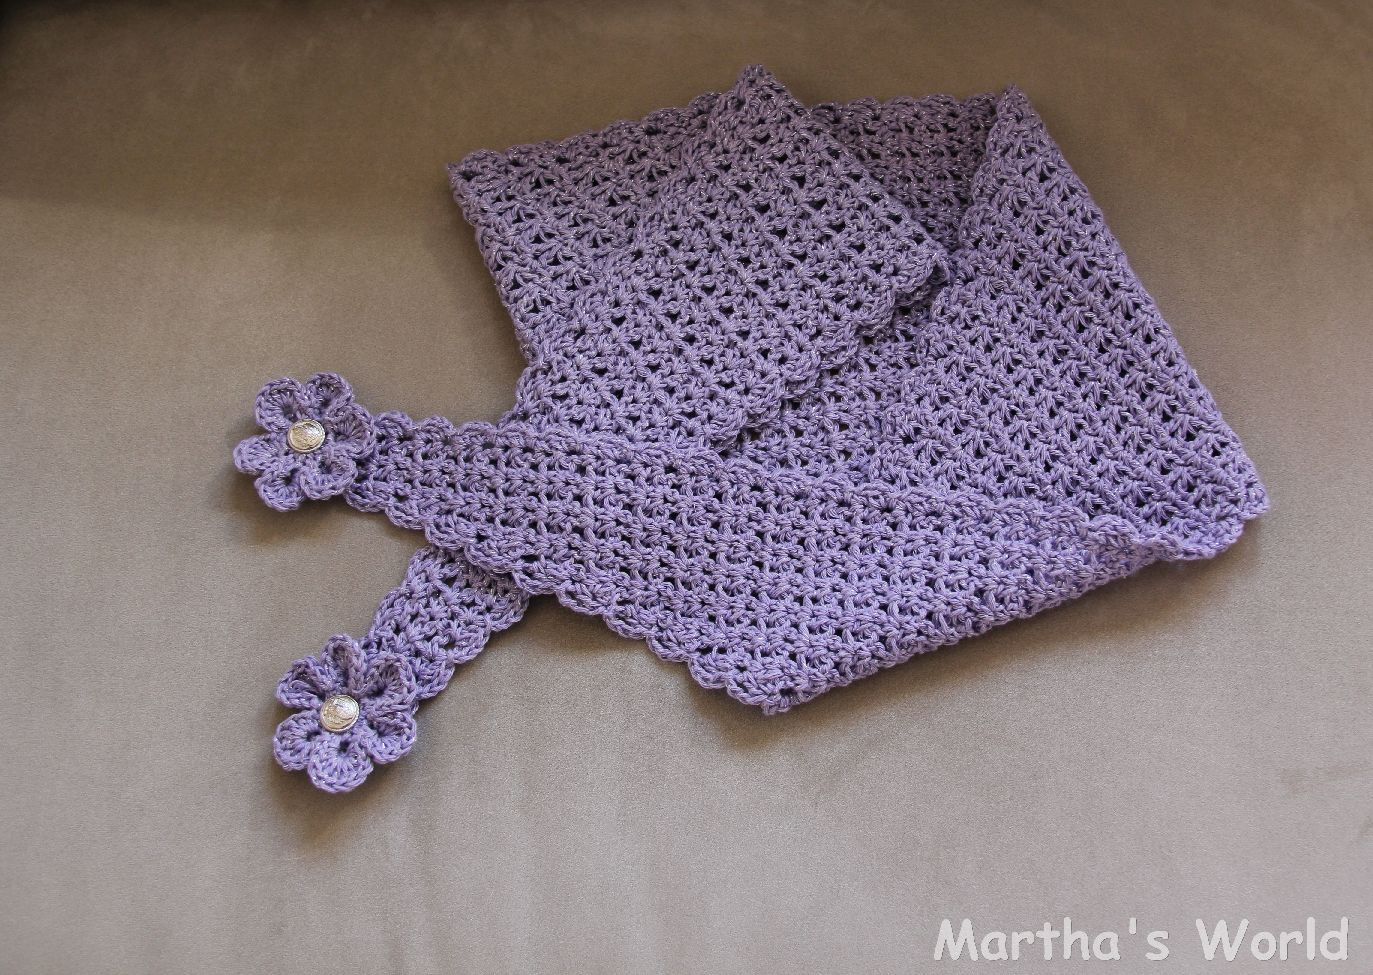
Anyway, few hours later, the scarf for Isabel was finished and ready to play with the camera.
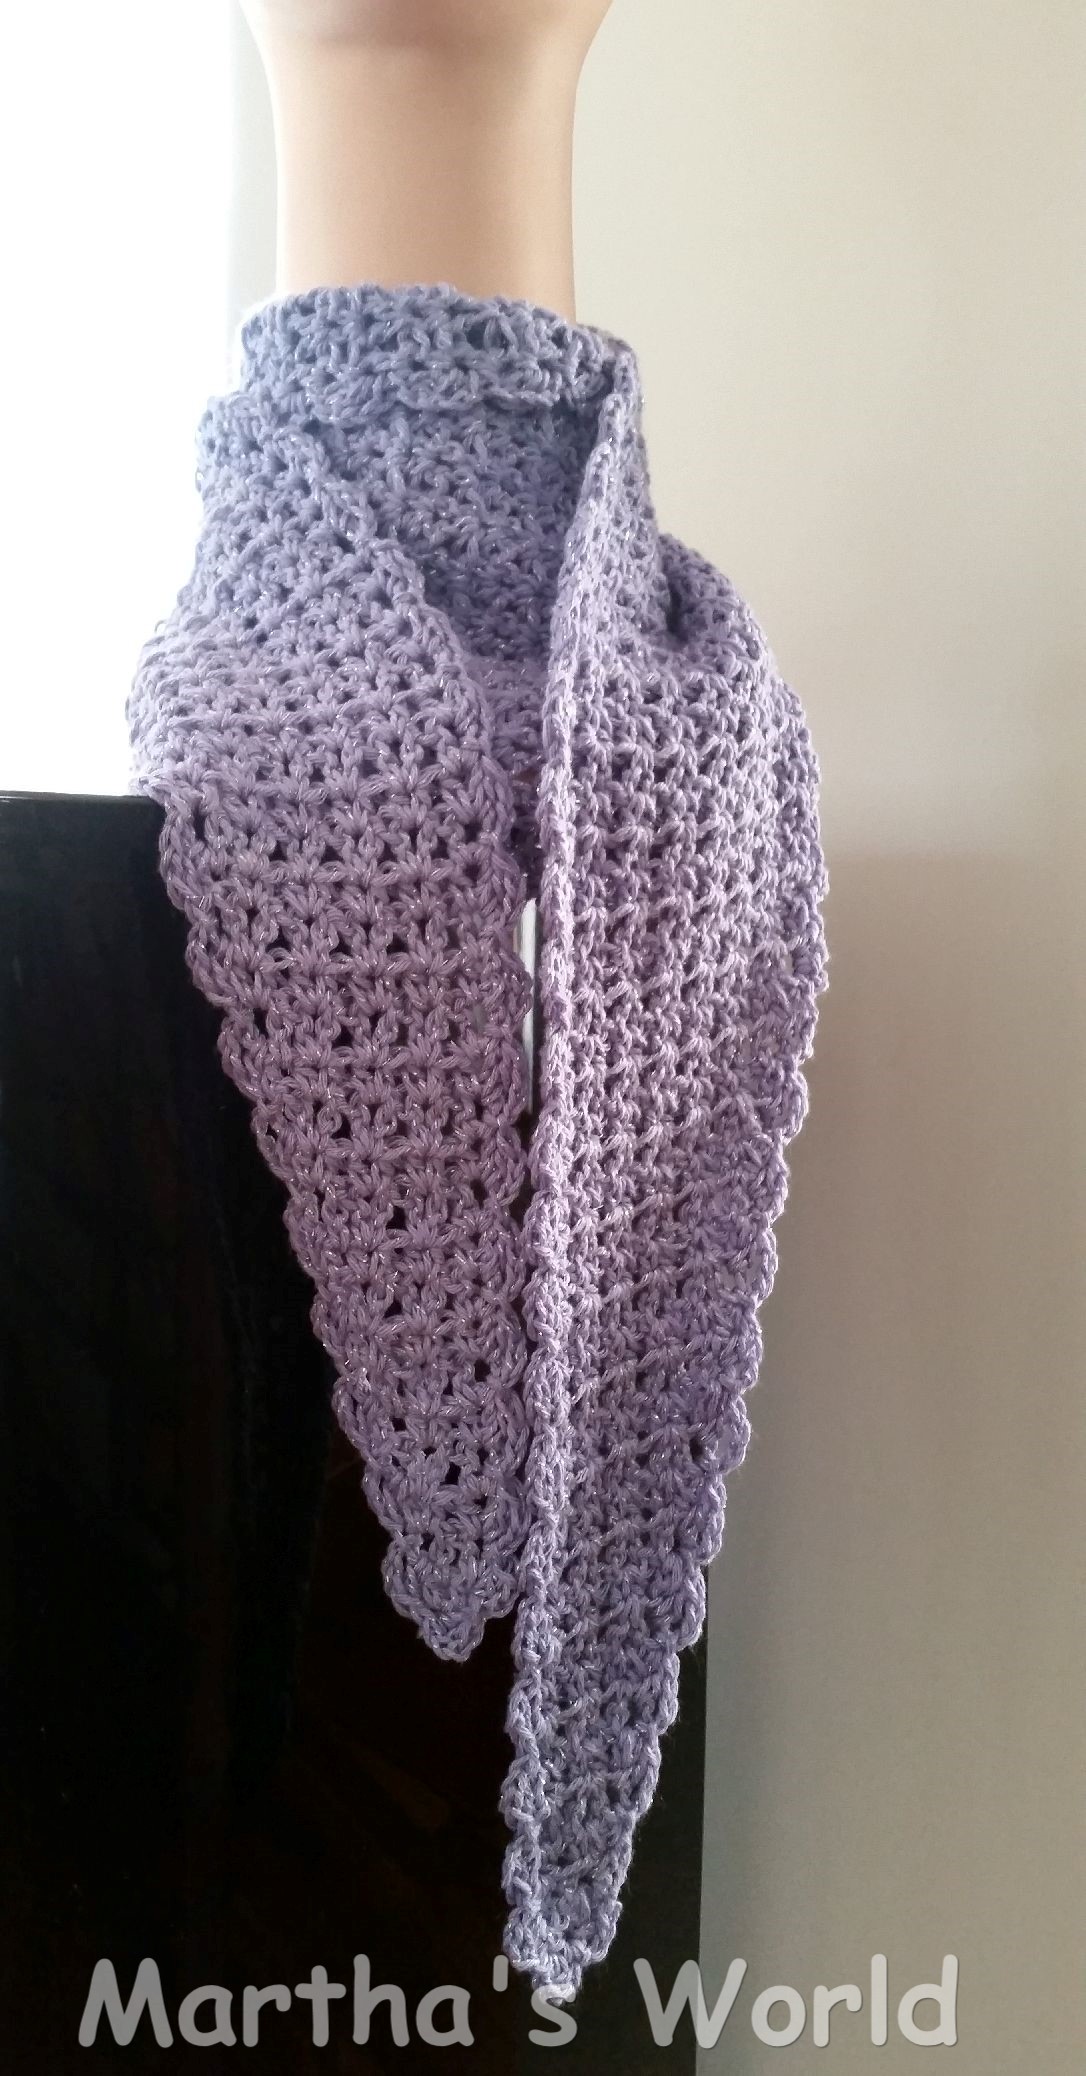
THIS is how one is supposed to wear it 😉
… but it can be a head scarf too, according to Isabel… I wish mannequin knew this, before the scarf popped into a box to cross the big pond! 😉
It is not about reading a pattern to the dot on letter ‘i’ … For me, crocheting is about research, it is about exercising my little grey cells .. about making an effort to figure things out. The journey itself is the joy, not necessarily about the final piece… Maybe that is why I don’t write patterns so often. But I LOVE patterns!
Toni wrote about this subject on her blog ”Just Dunny (Toni) Crochet outside of the lines with Toni (Justdunny)” . And her words inspired me to write the above words about patterns. Or ”patterns”. Your choice!
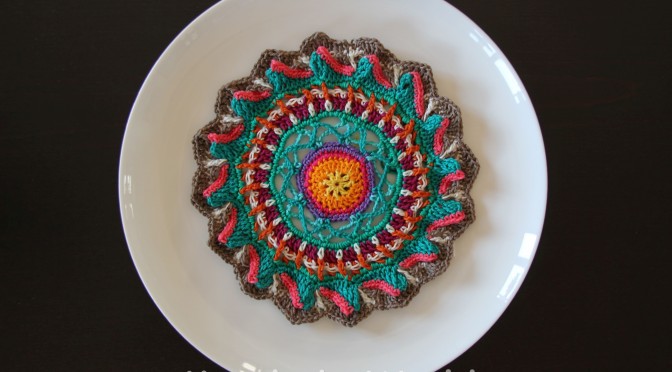
A bit more about one particular design by Toni – the well known Toni’s Mandala.
I had a pleasure to be part of the small group that turned the amazing design by Toni into a pattern that can be used by every beginner. (I will tell you more about the famous CCC – The Creative Crochet Crew some other time).
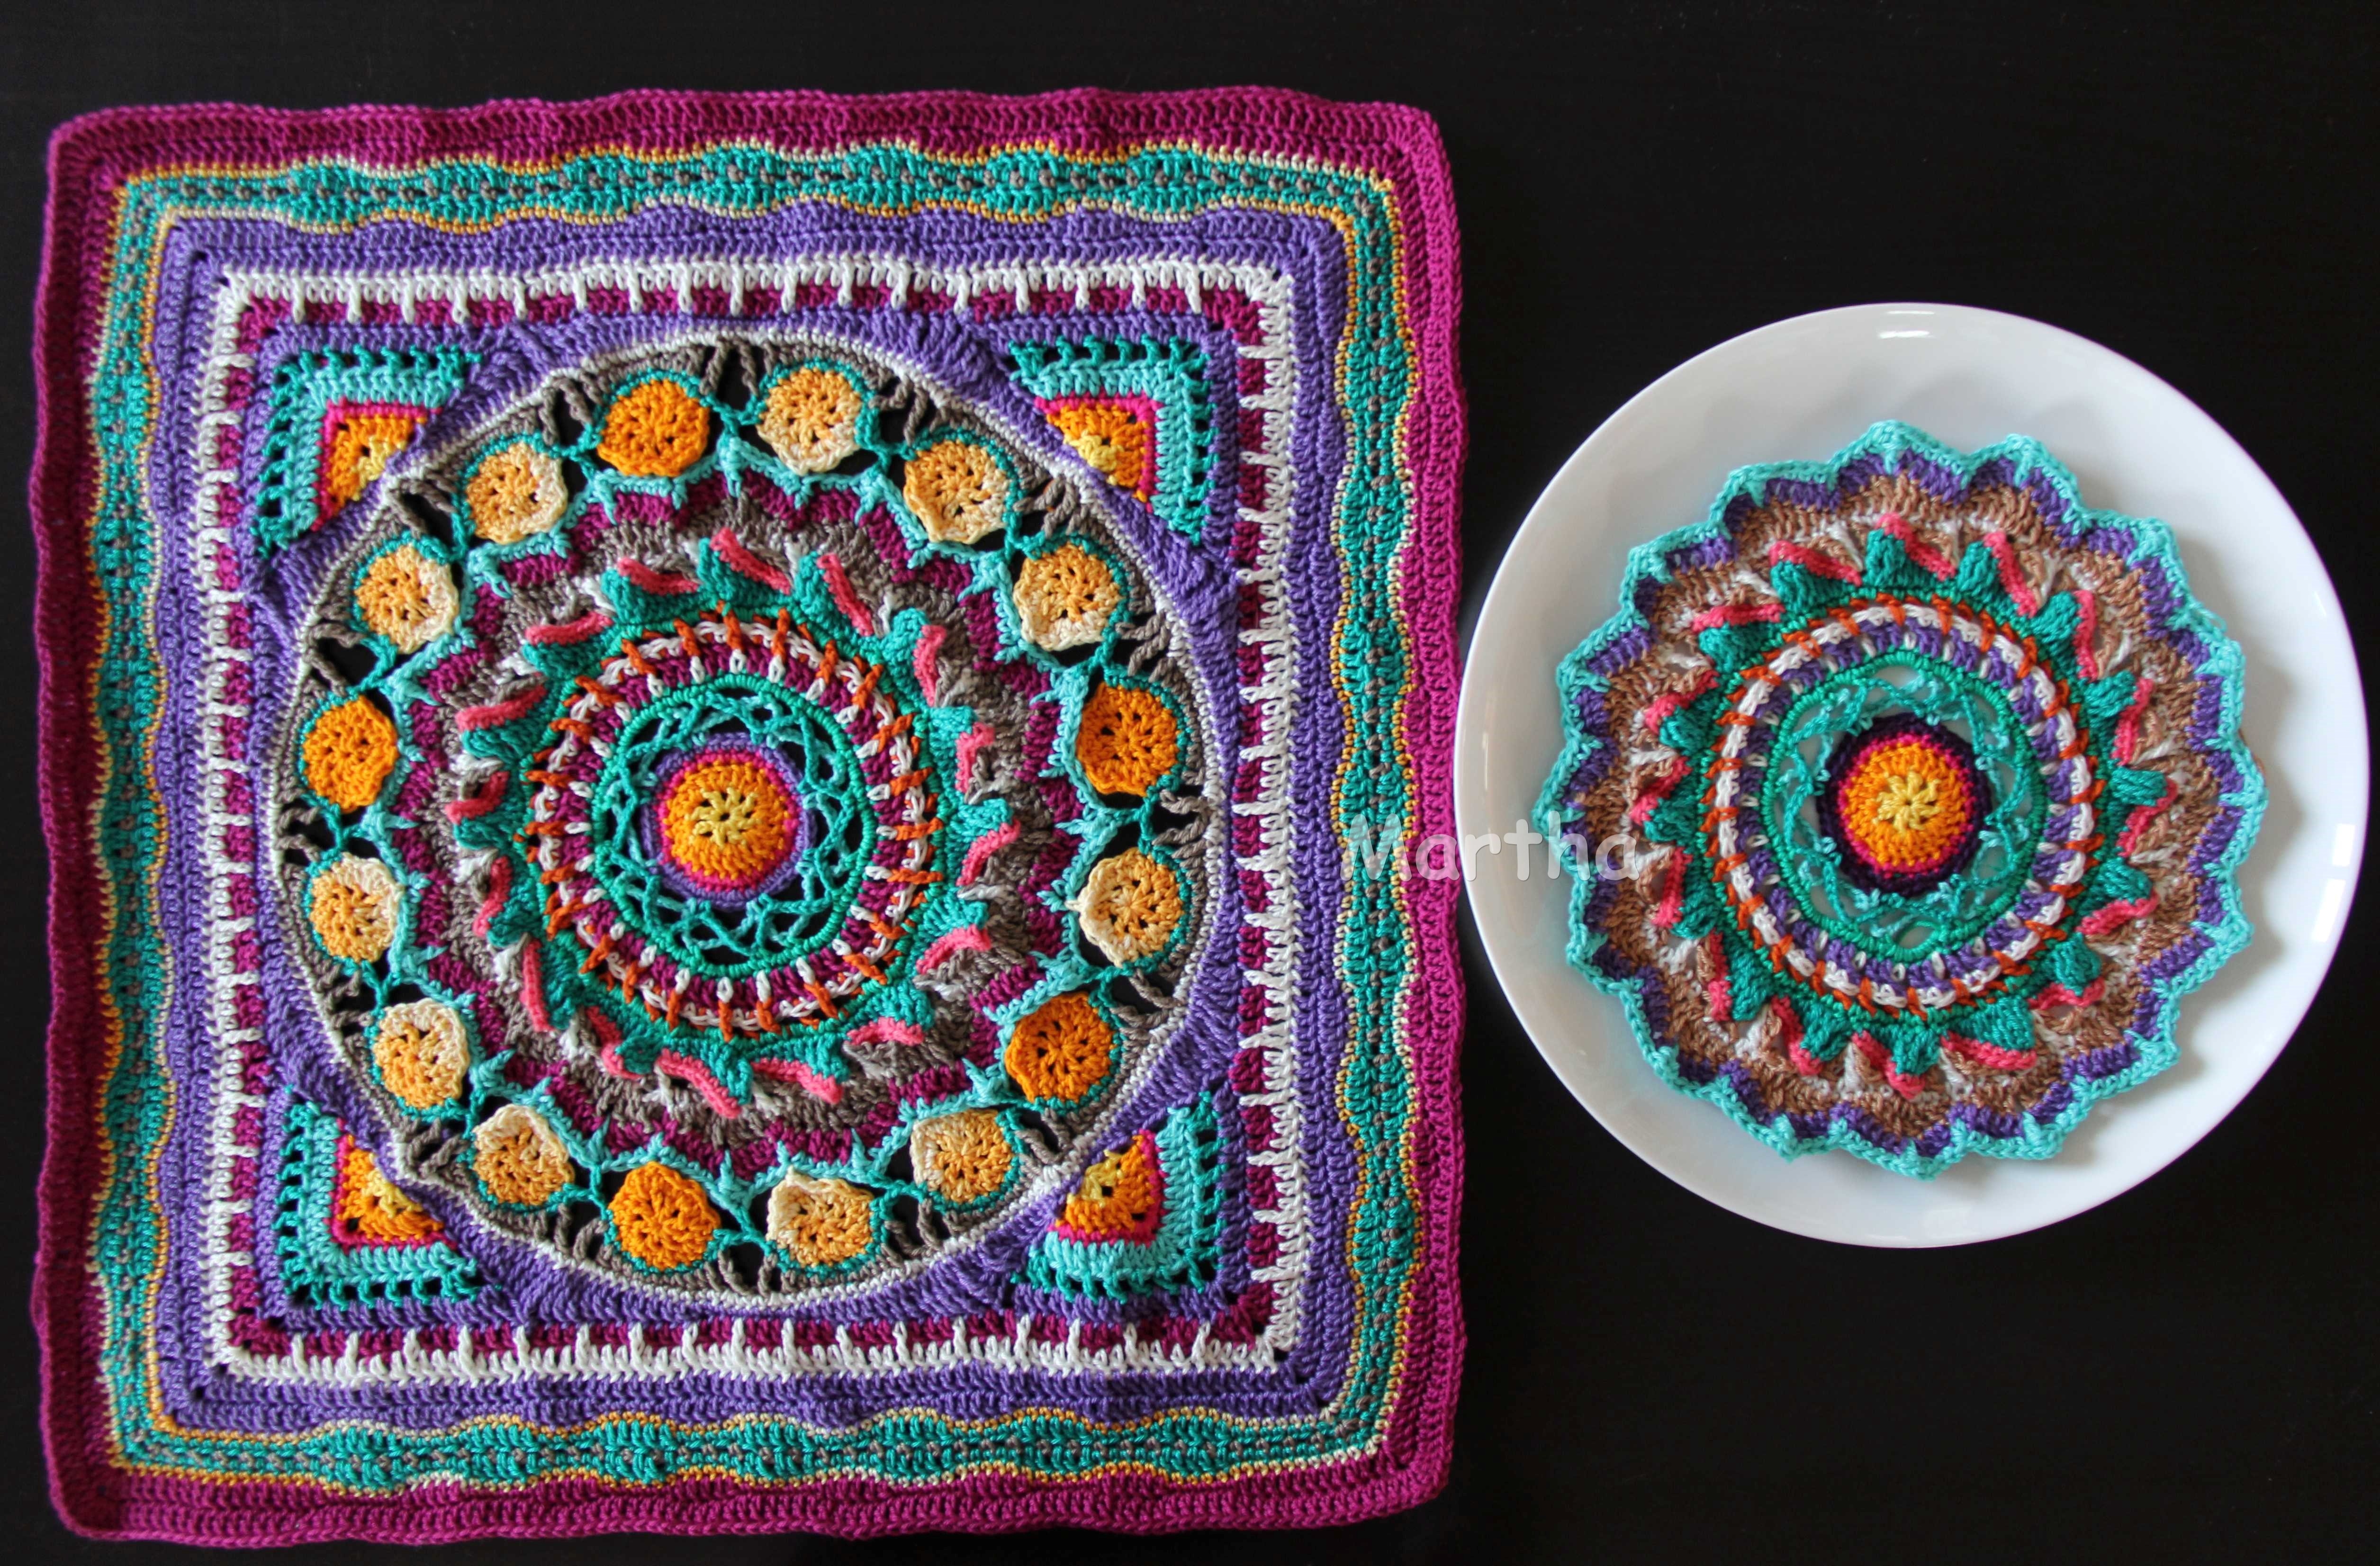
What a challenge our project was, and what a joy for me, construction engineer …. Thanks to Angela and Oona, the pattern is re-written and detailed, and it can be found (free), on Ravelry, and on Toni’s blog. For the record, Toni’s Mandala is one of the most popular crochet Mandalas.
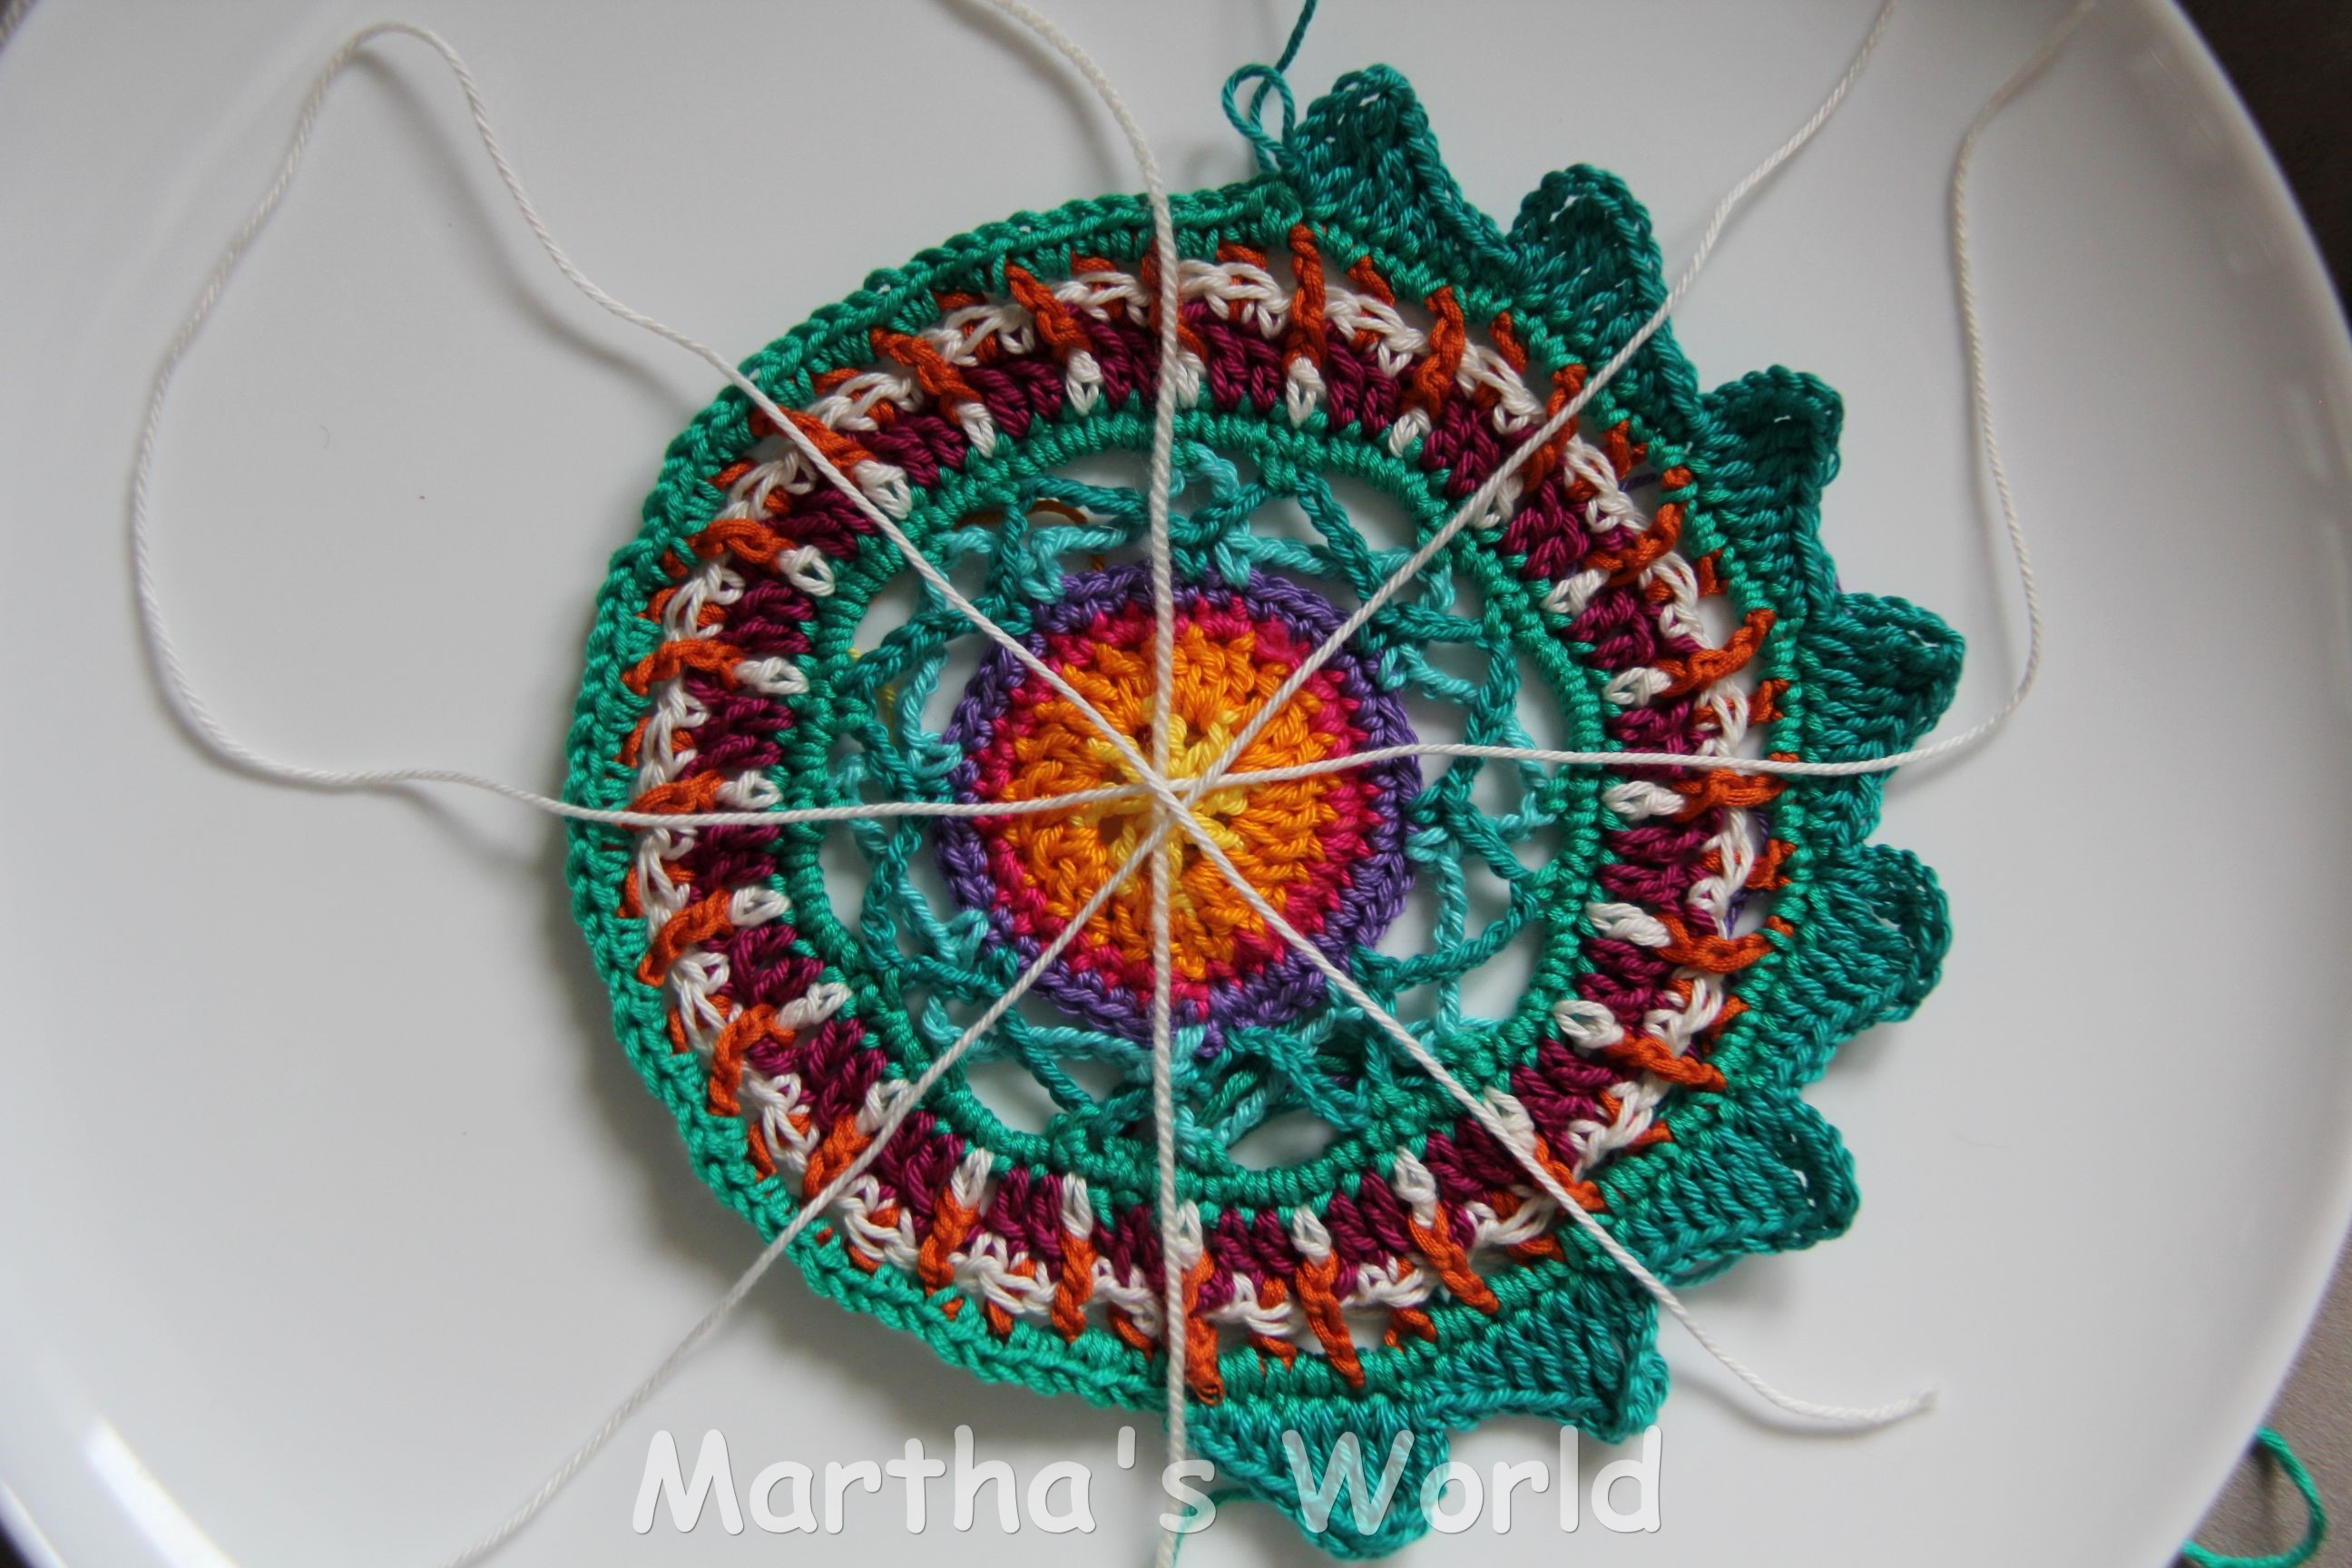
Here are only a few photos from my journey on The Magic Carpet …
*by now you know how much I love taking photos while I work 😀
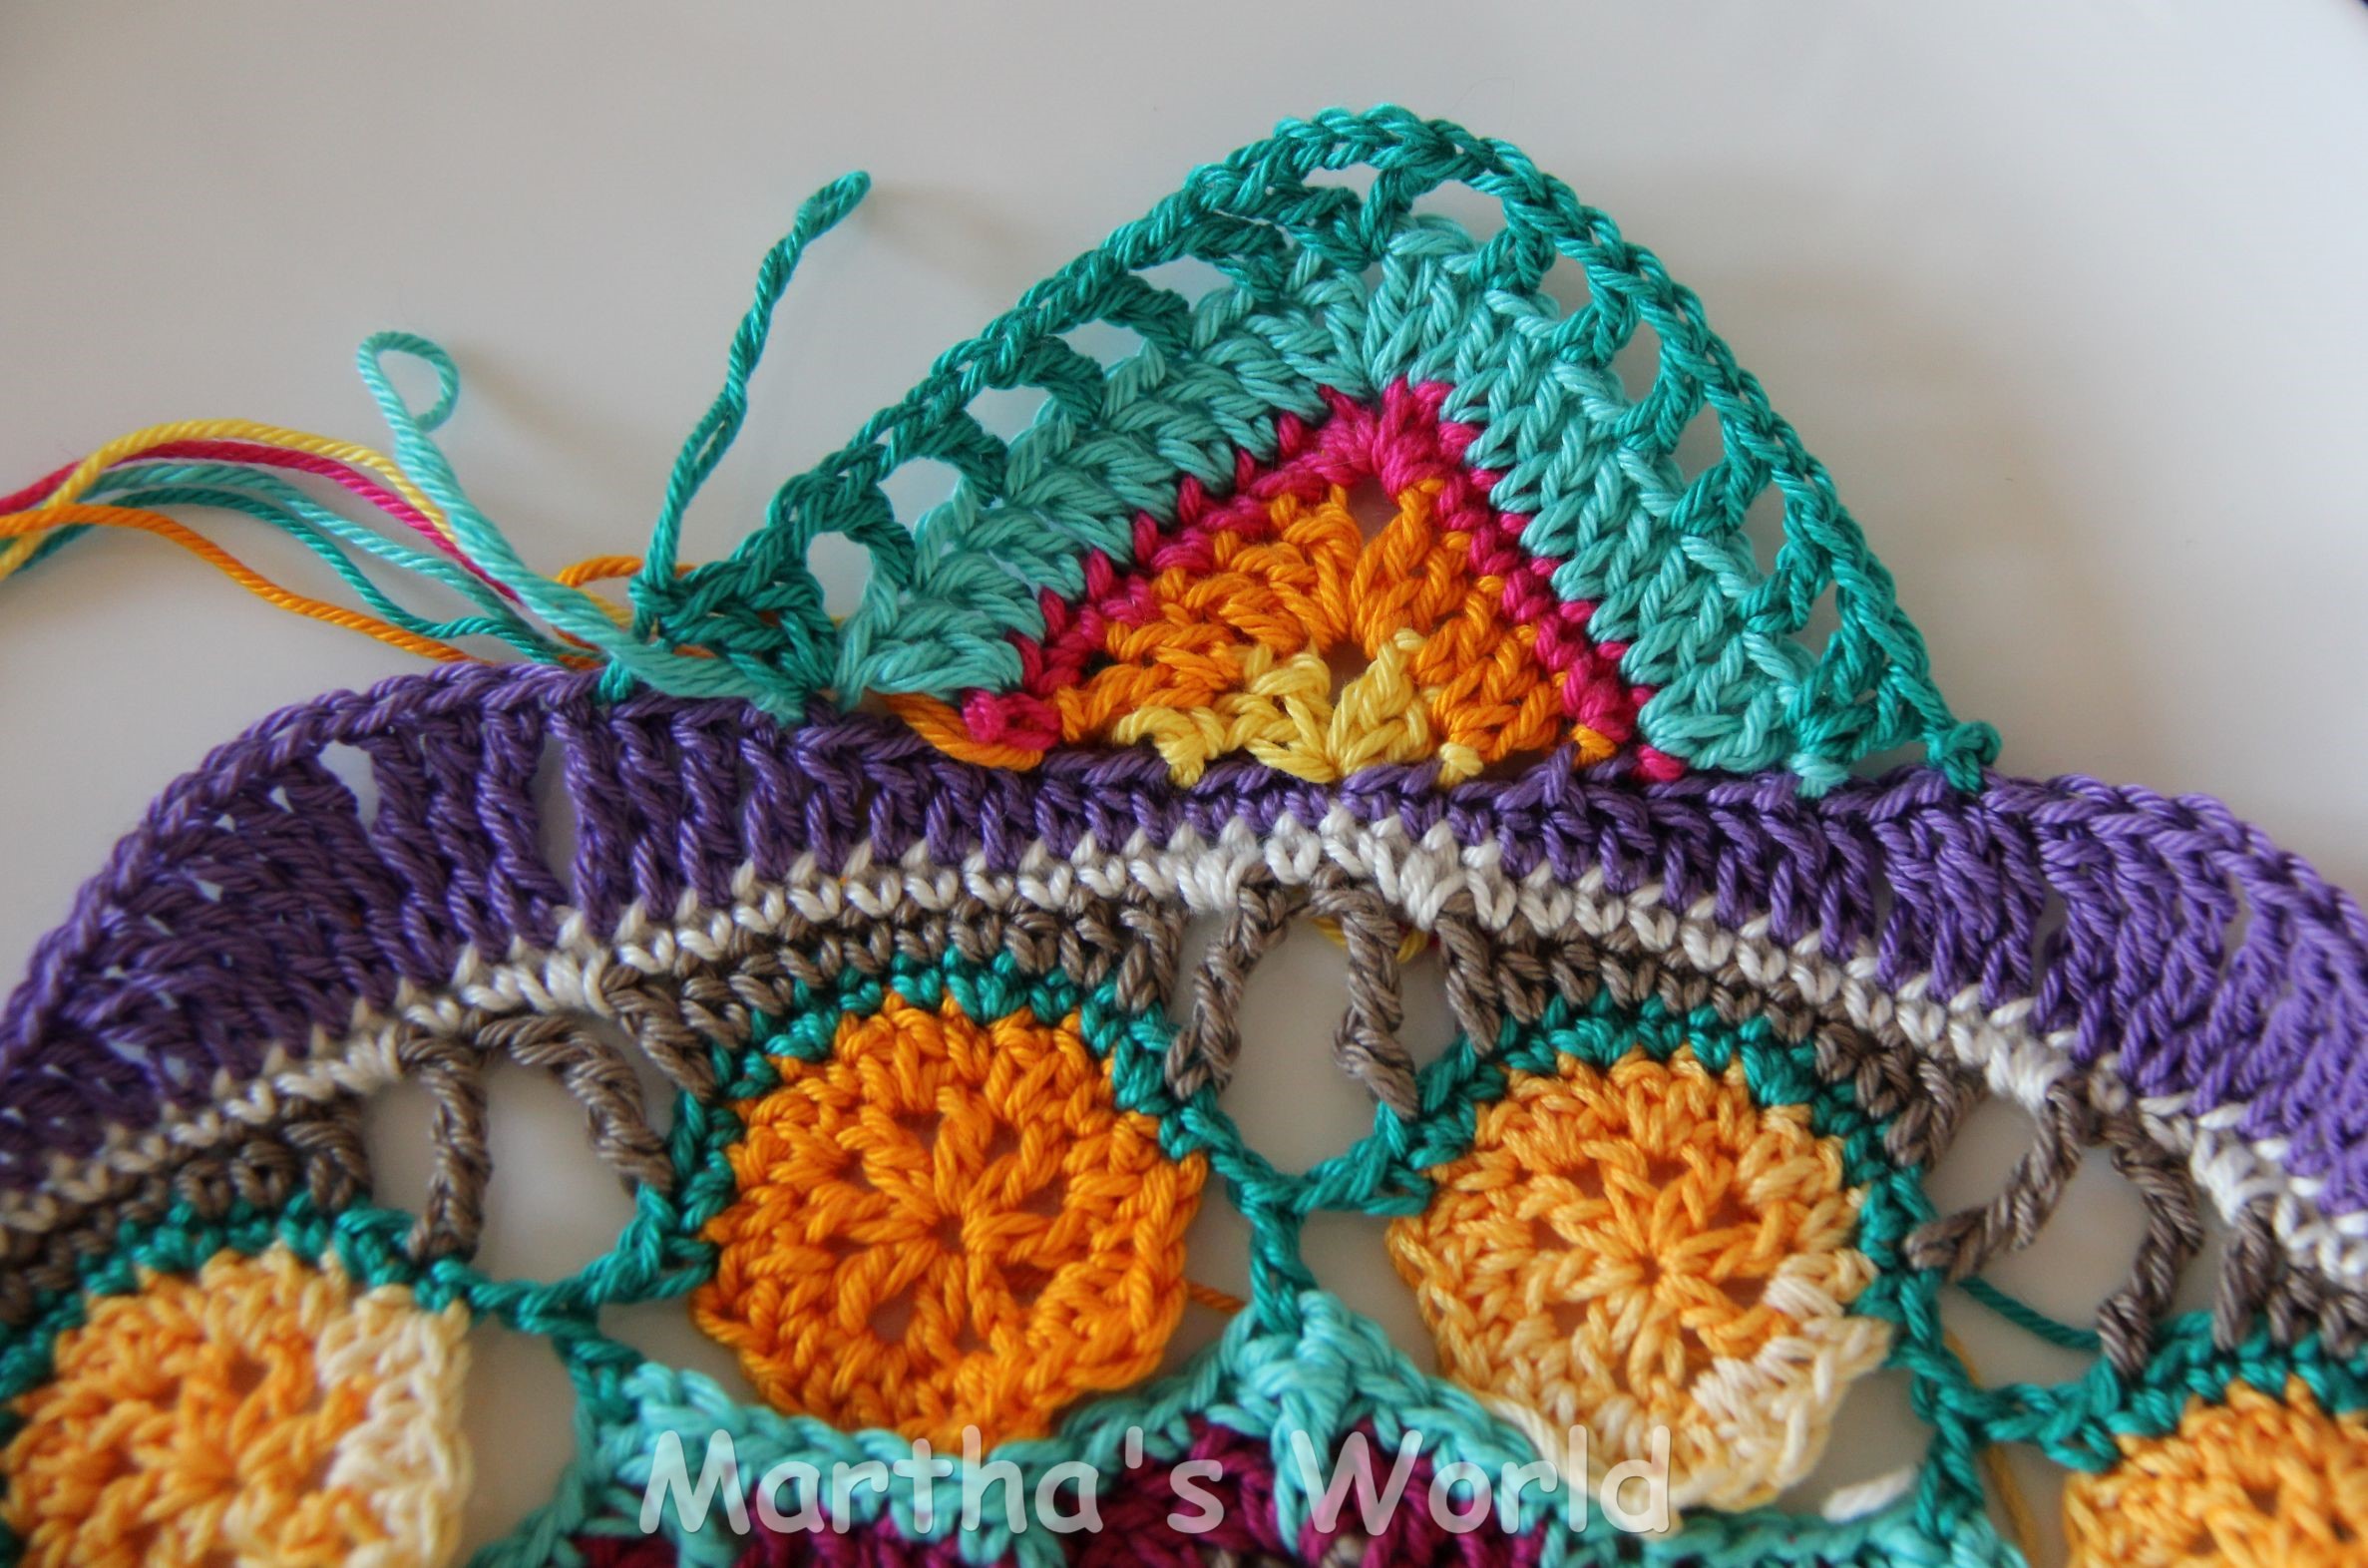
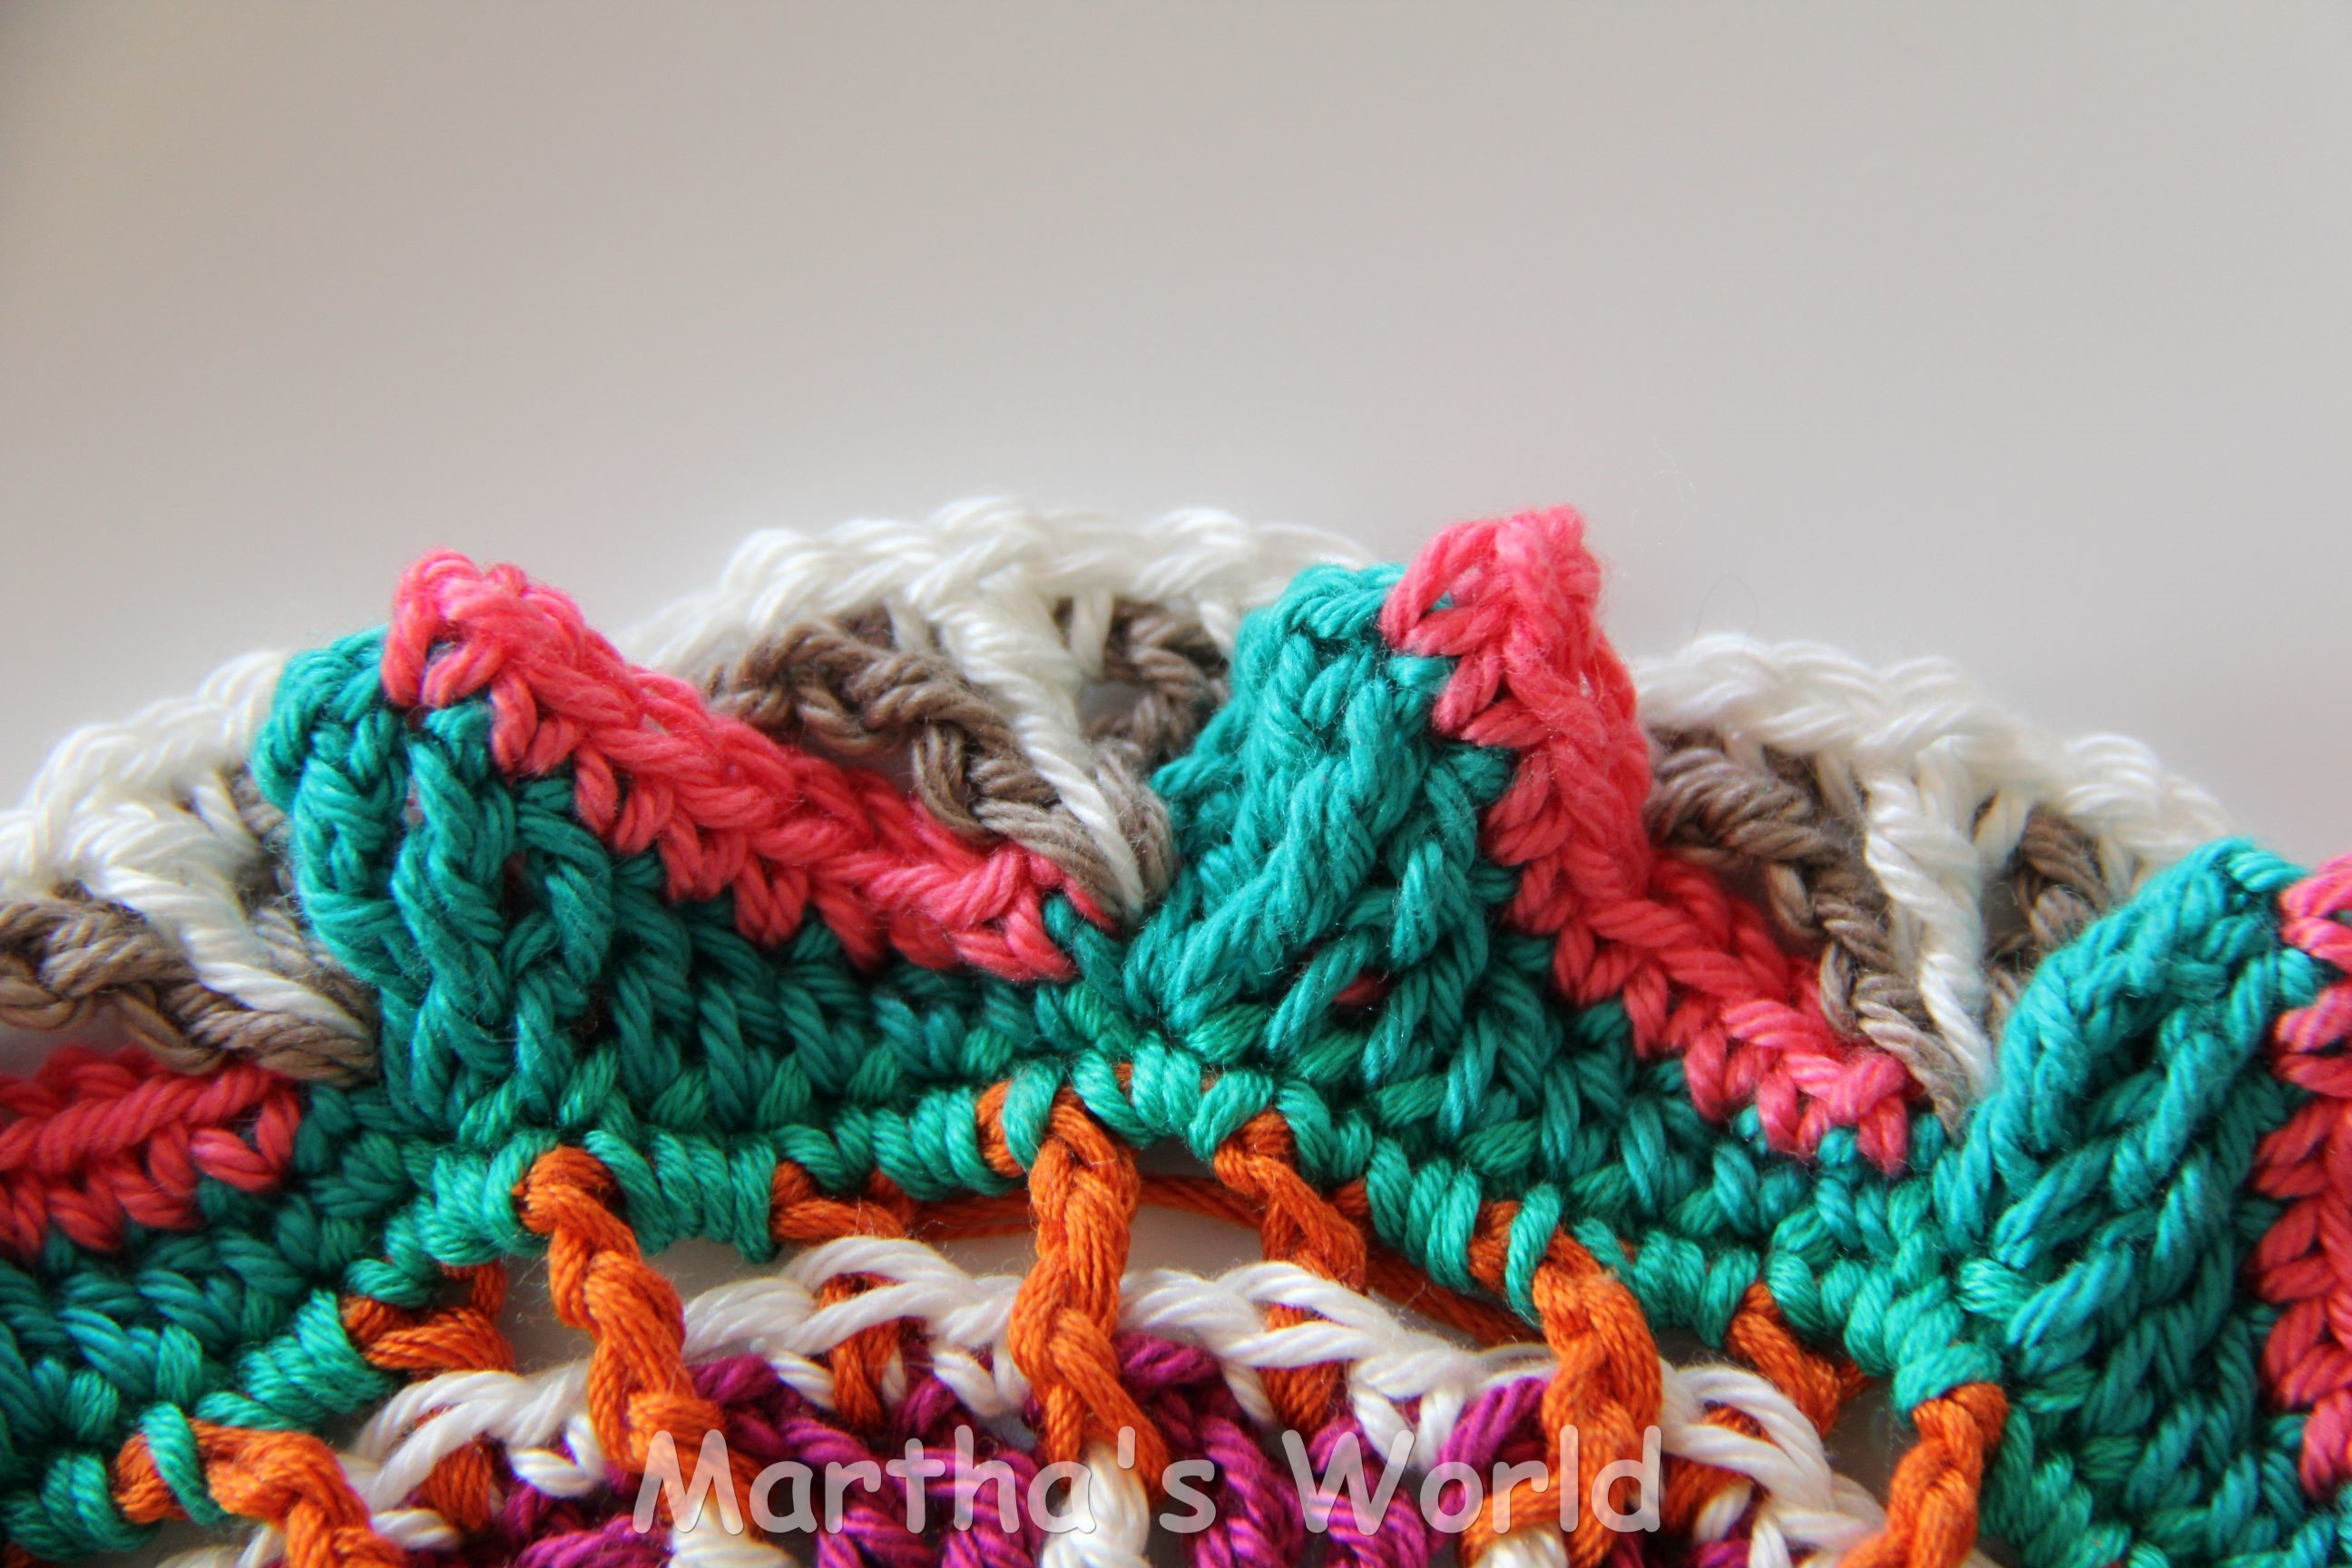
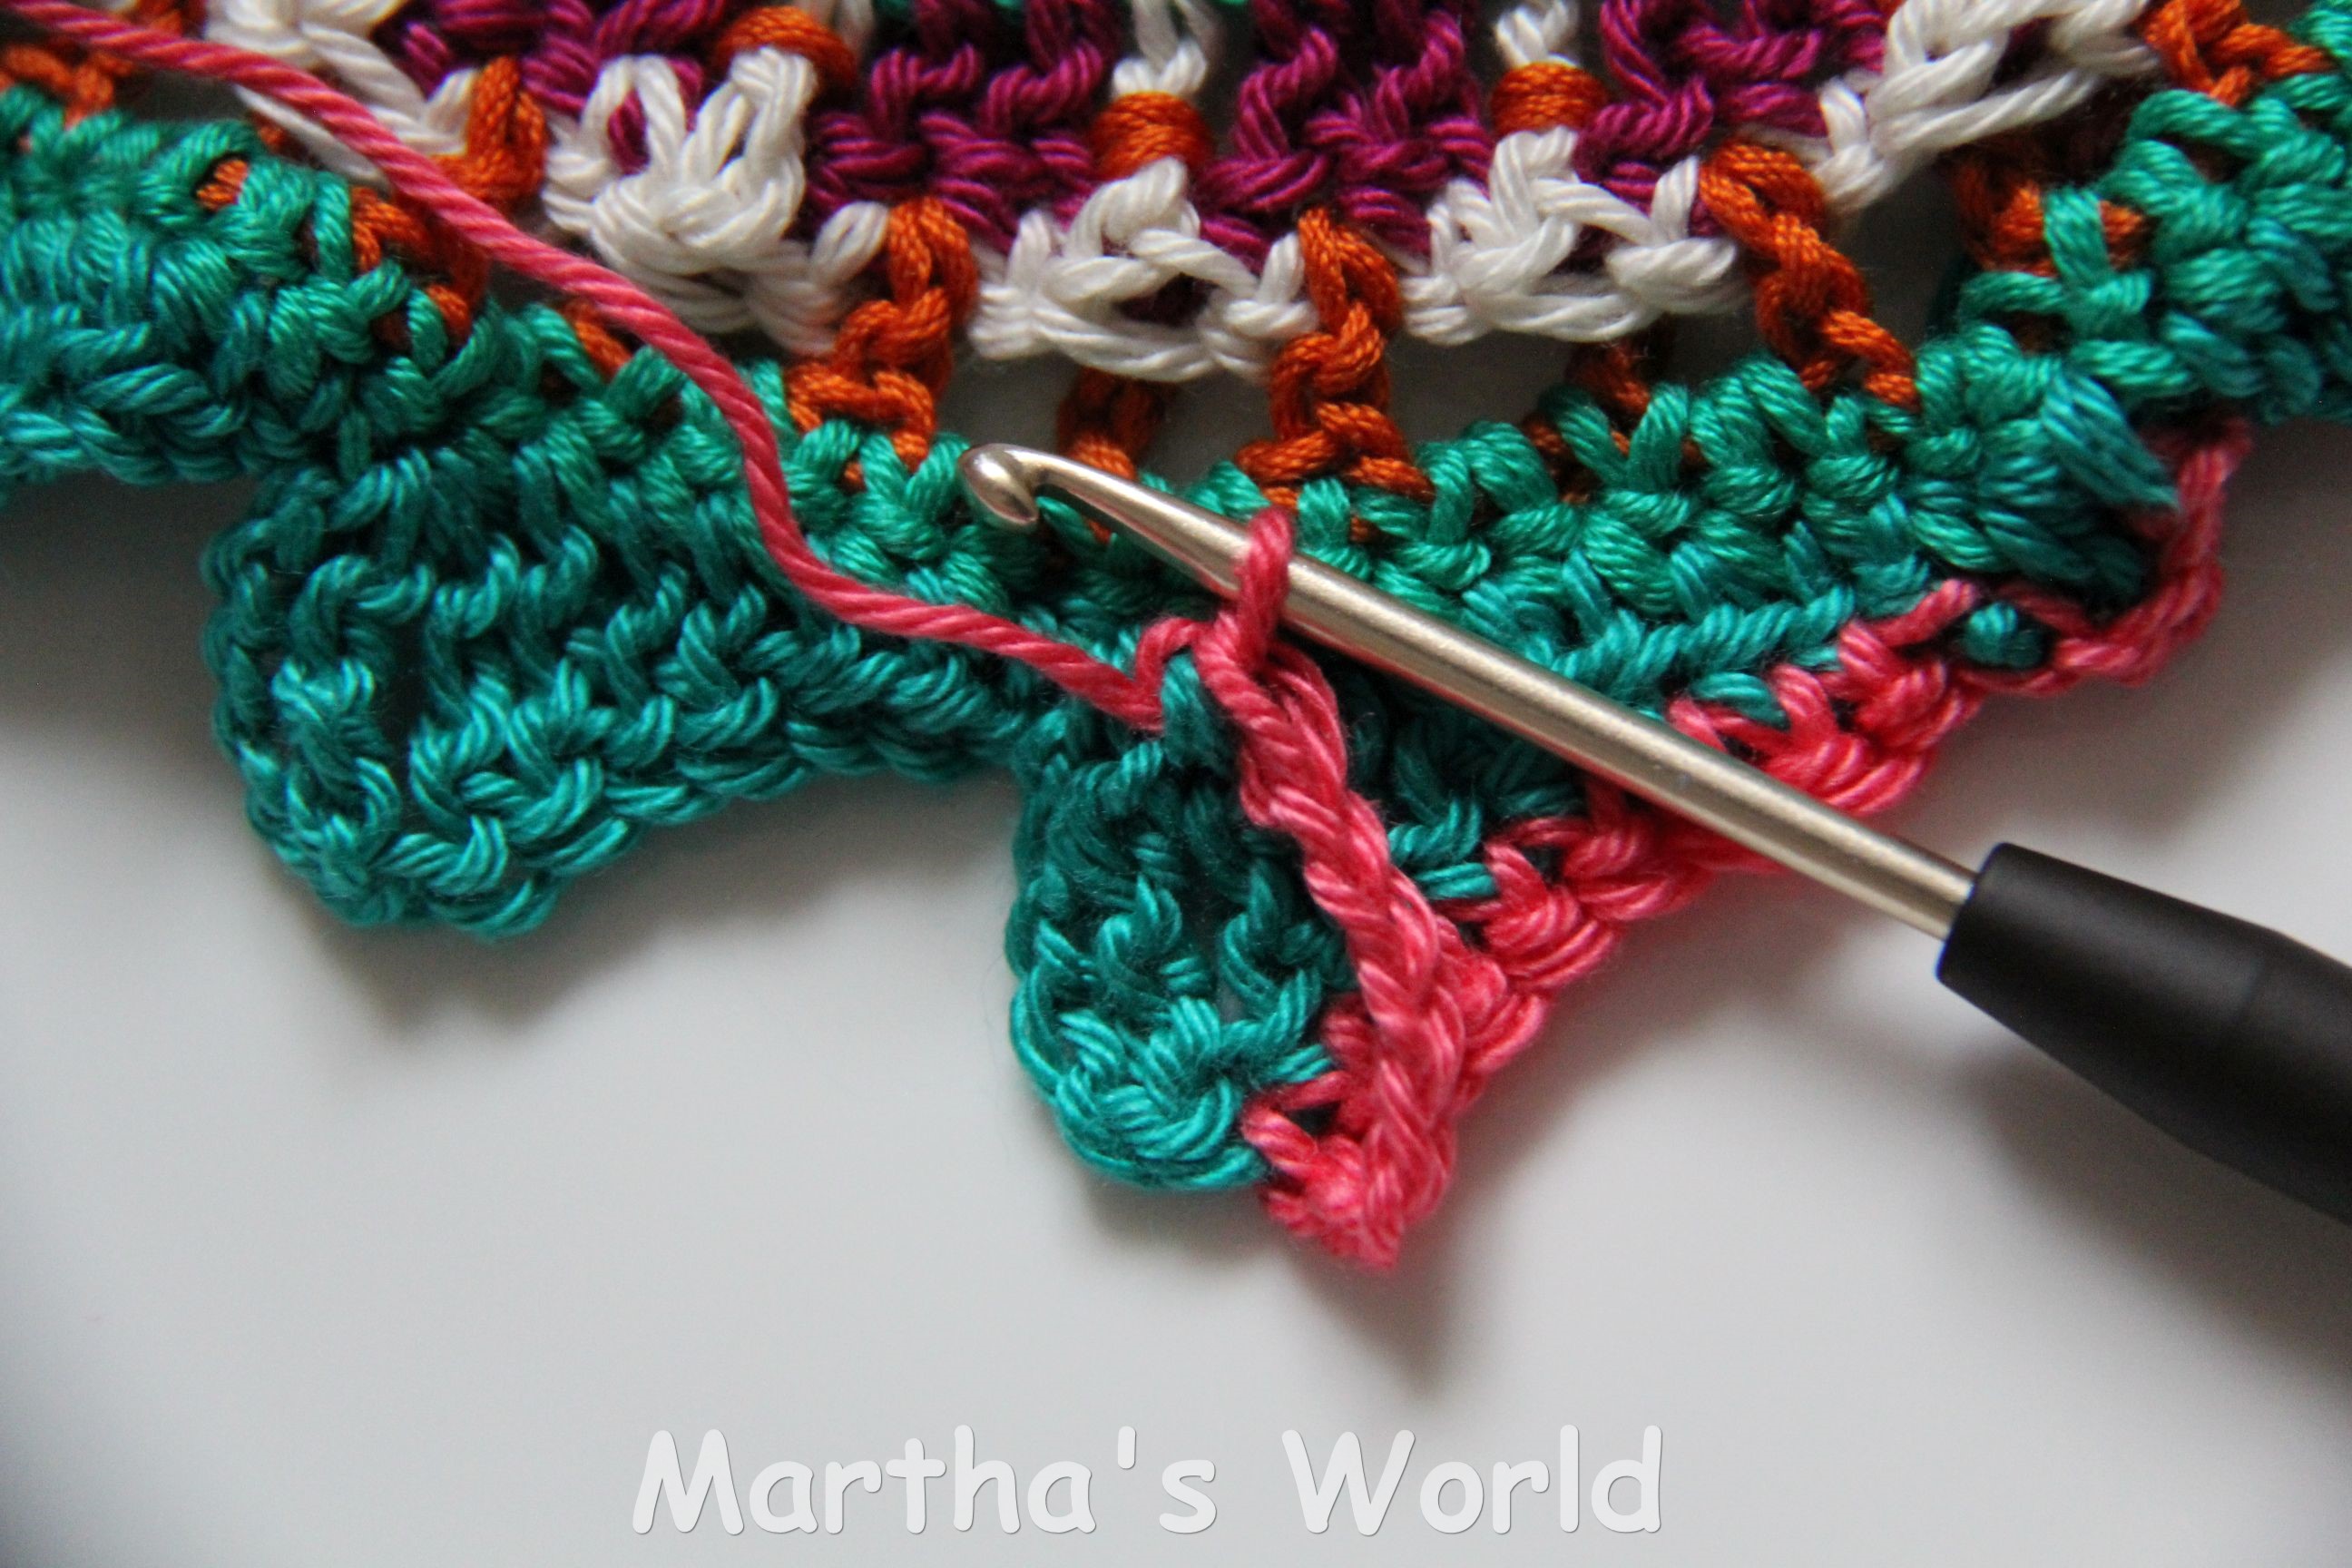
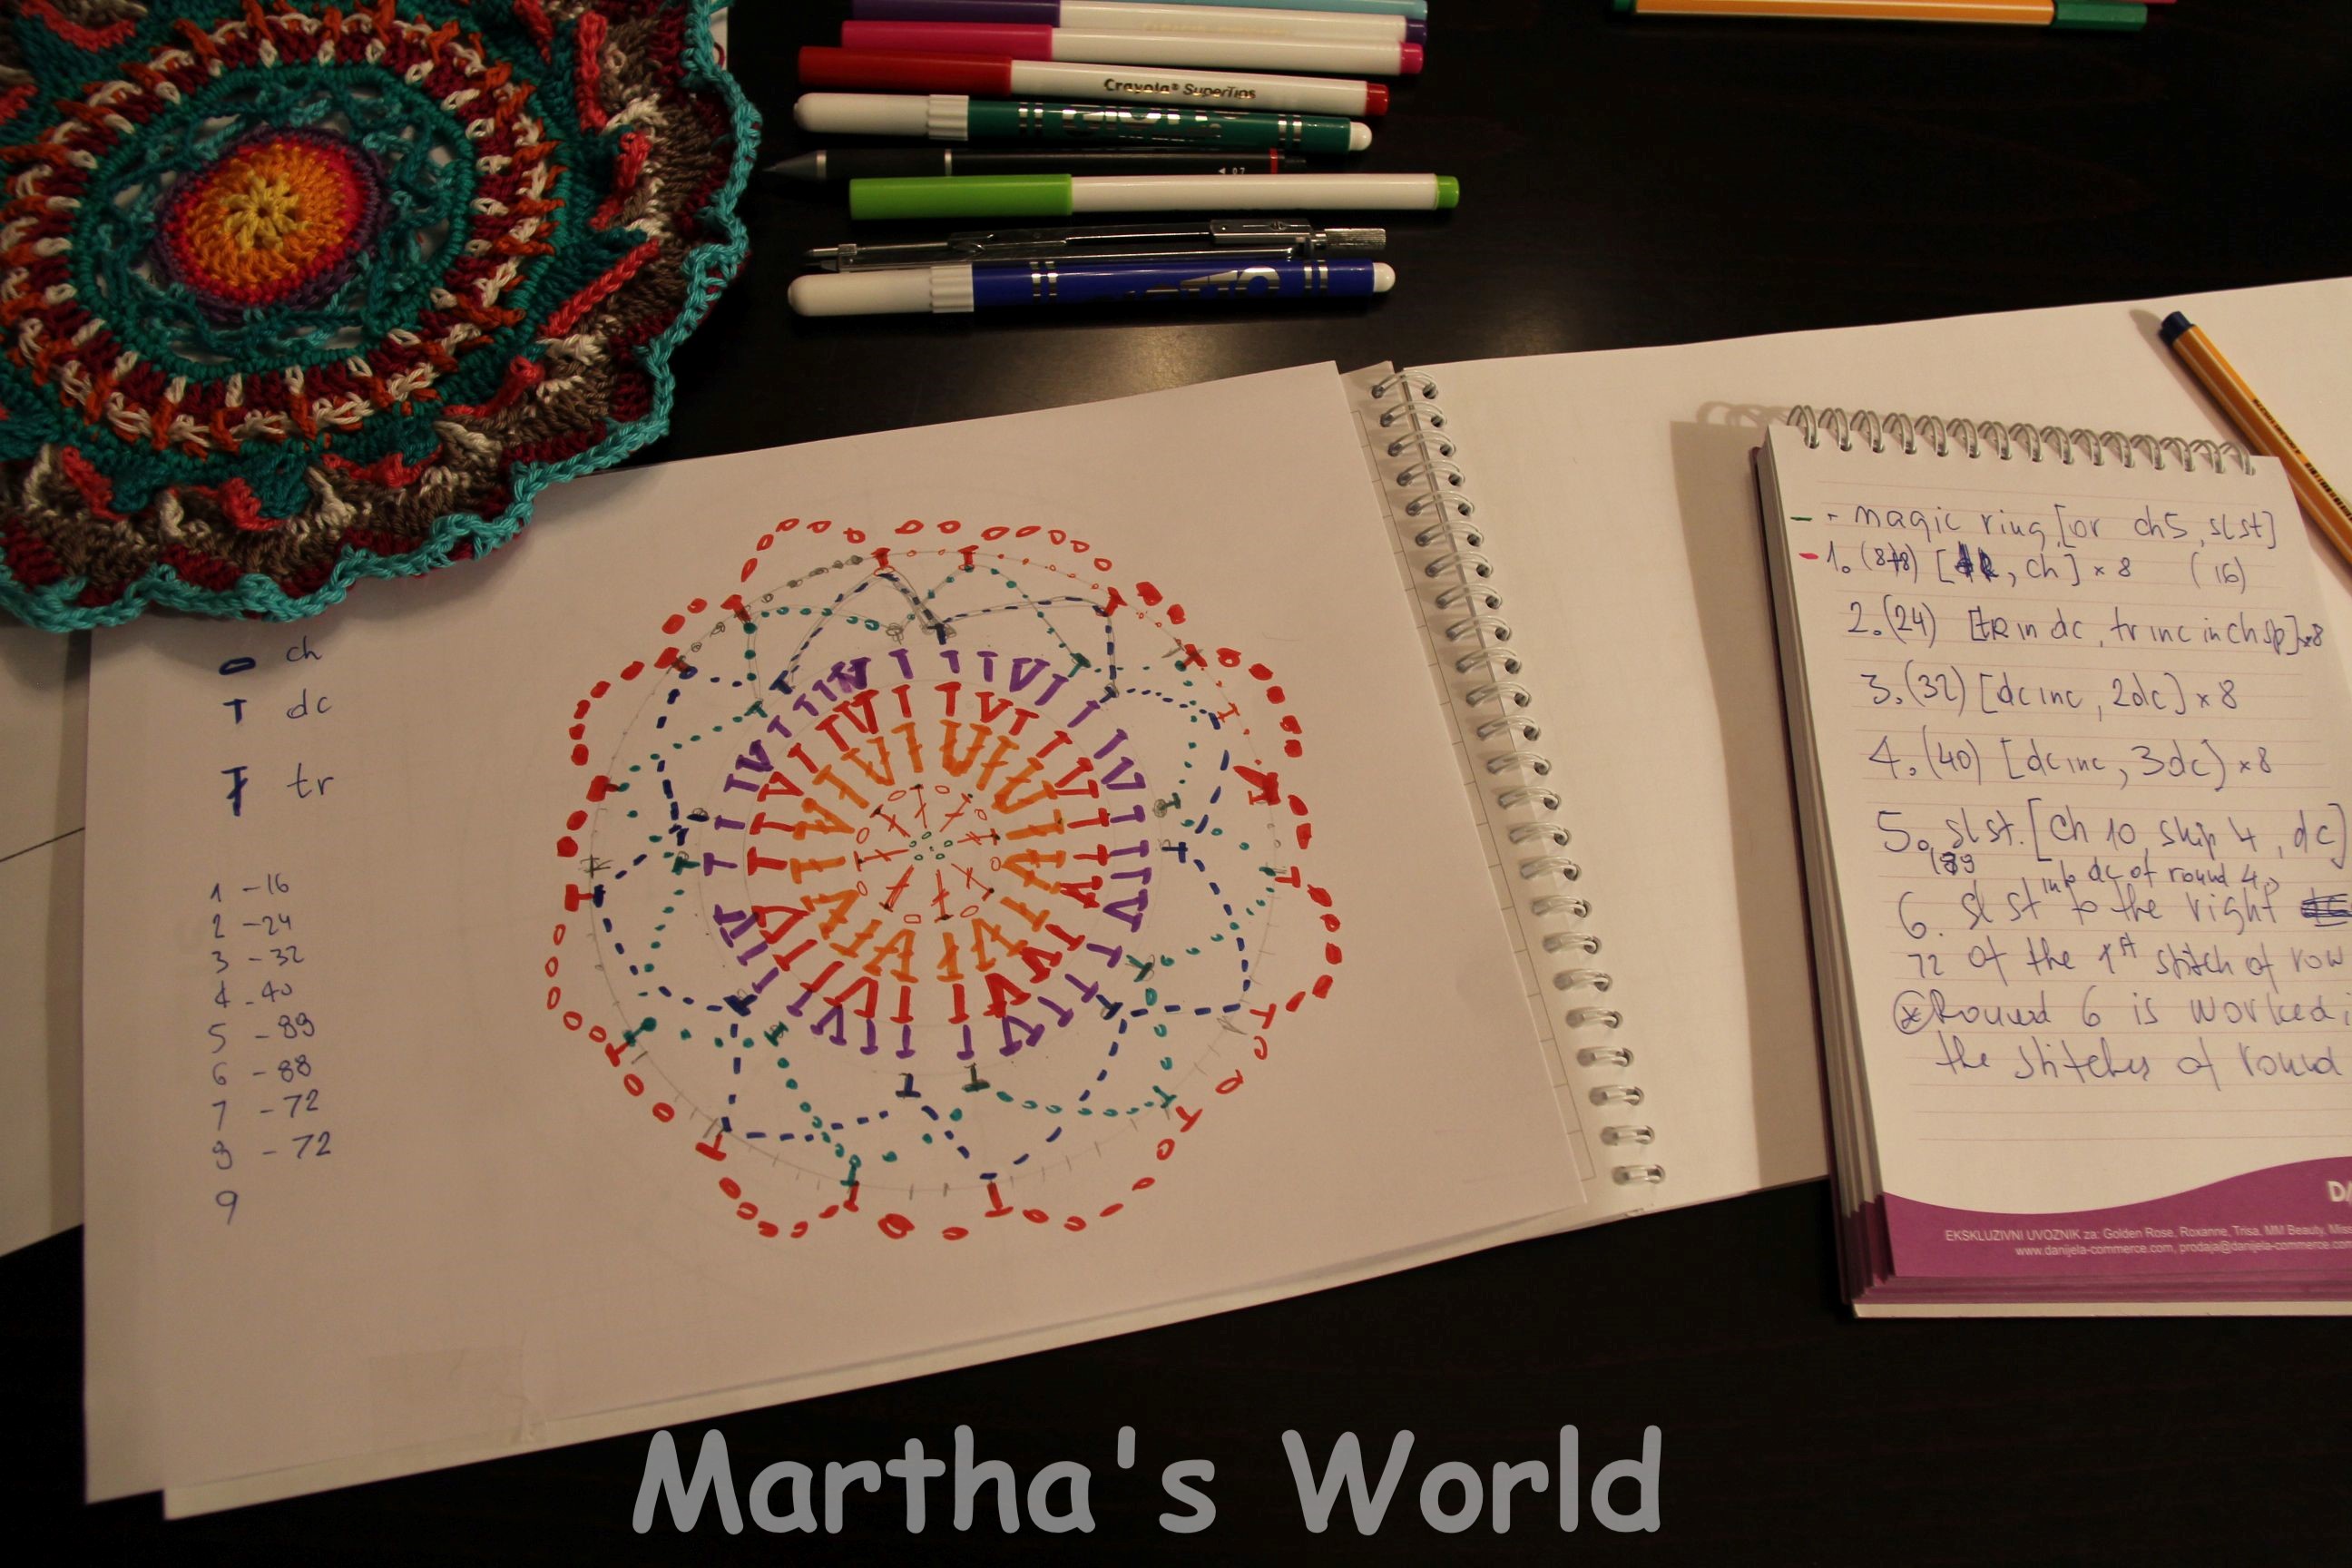
Toni’s Mandala – the research, the math, the yarn … the joy!Toni’s Mandala – turning 17 to 16 peaks *how engineer does it 😉Toni’s Mandala – corners Choosing the right color combination was the hardest part of this project …Toni’s Mandala – the part I didn’t manage to figure outToni’s technique – how to ‘cut’ the yarn without cutting it 😉FINAL SHOT! My Mandala – and her baby!
If you like the shots behind the scene – this is how I work …. simple – Colors, drawings, paper … so called basic engineering! …. LOL!
*Toni’s notes with instructions for Mandala, and the proven version made by Angela and Onna (I helped in the process, mostly with figuring out some formulas, and with detailed photos) – can also be found on Ravelry
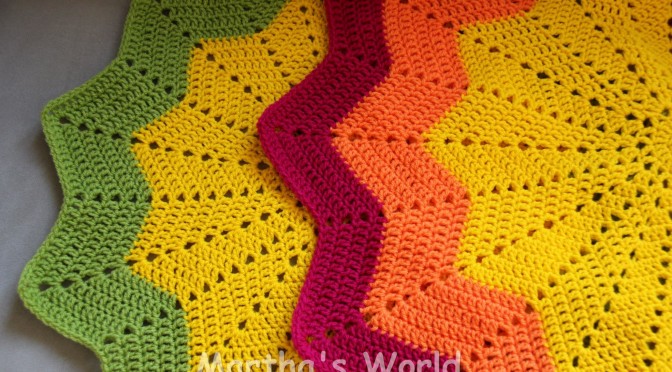
After seeing so many photos of amazing ripple round afghans posted in crochet groups I belong to, of course I couldn’t resist!! Quick search for the pattern, few skeins of yarn that were sitting for (too) long in the box, and I was so ready!
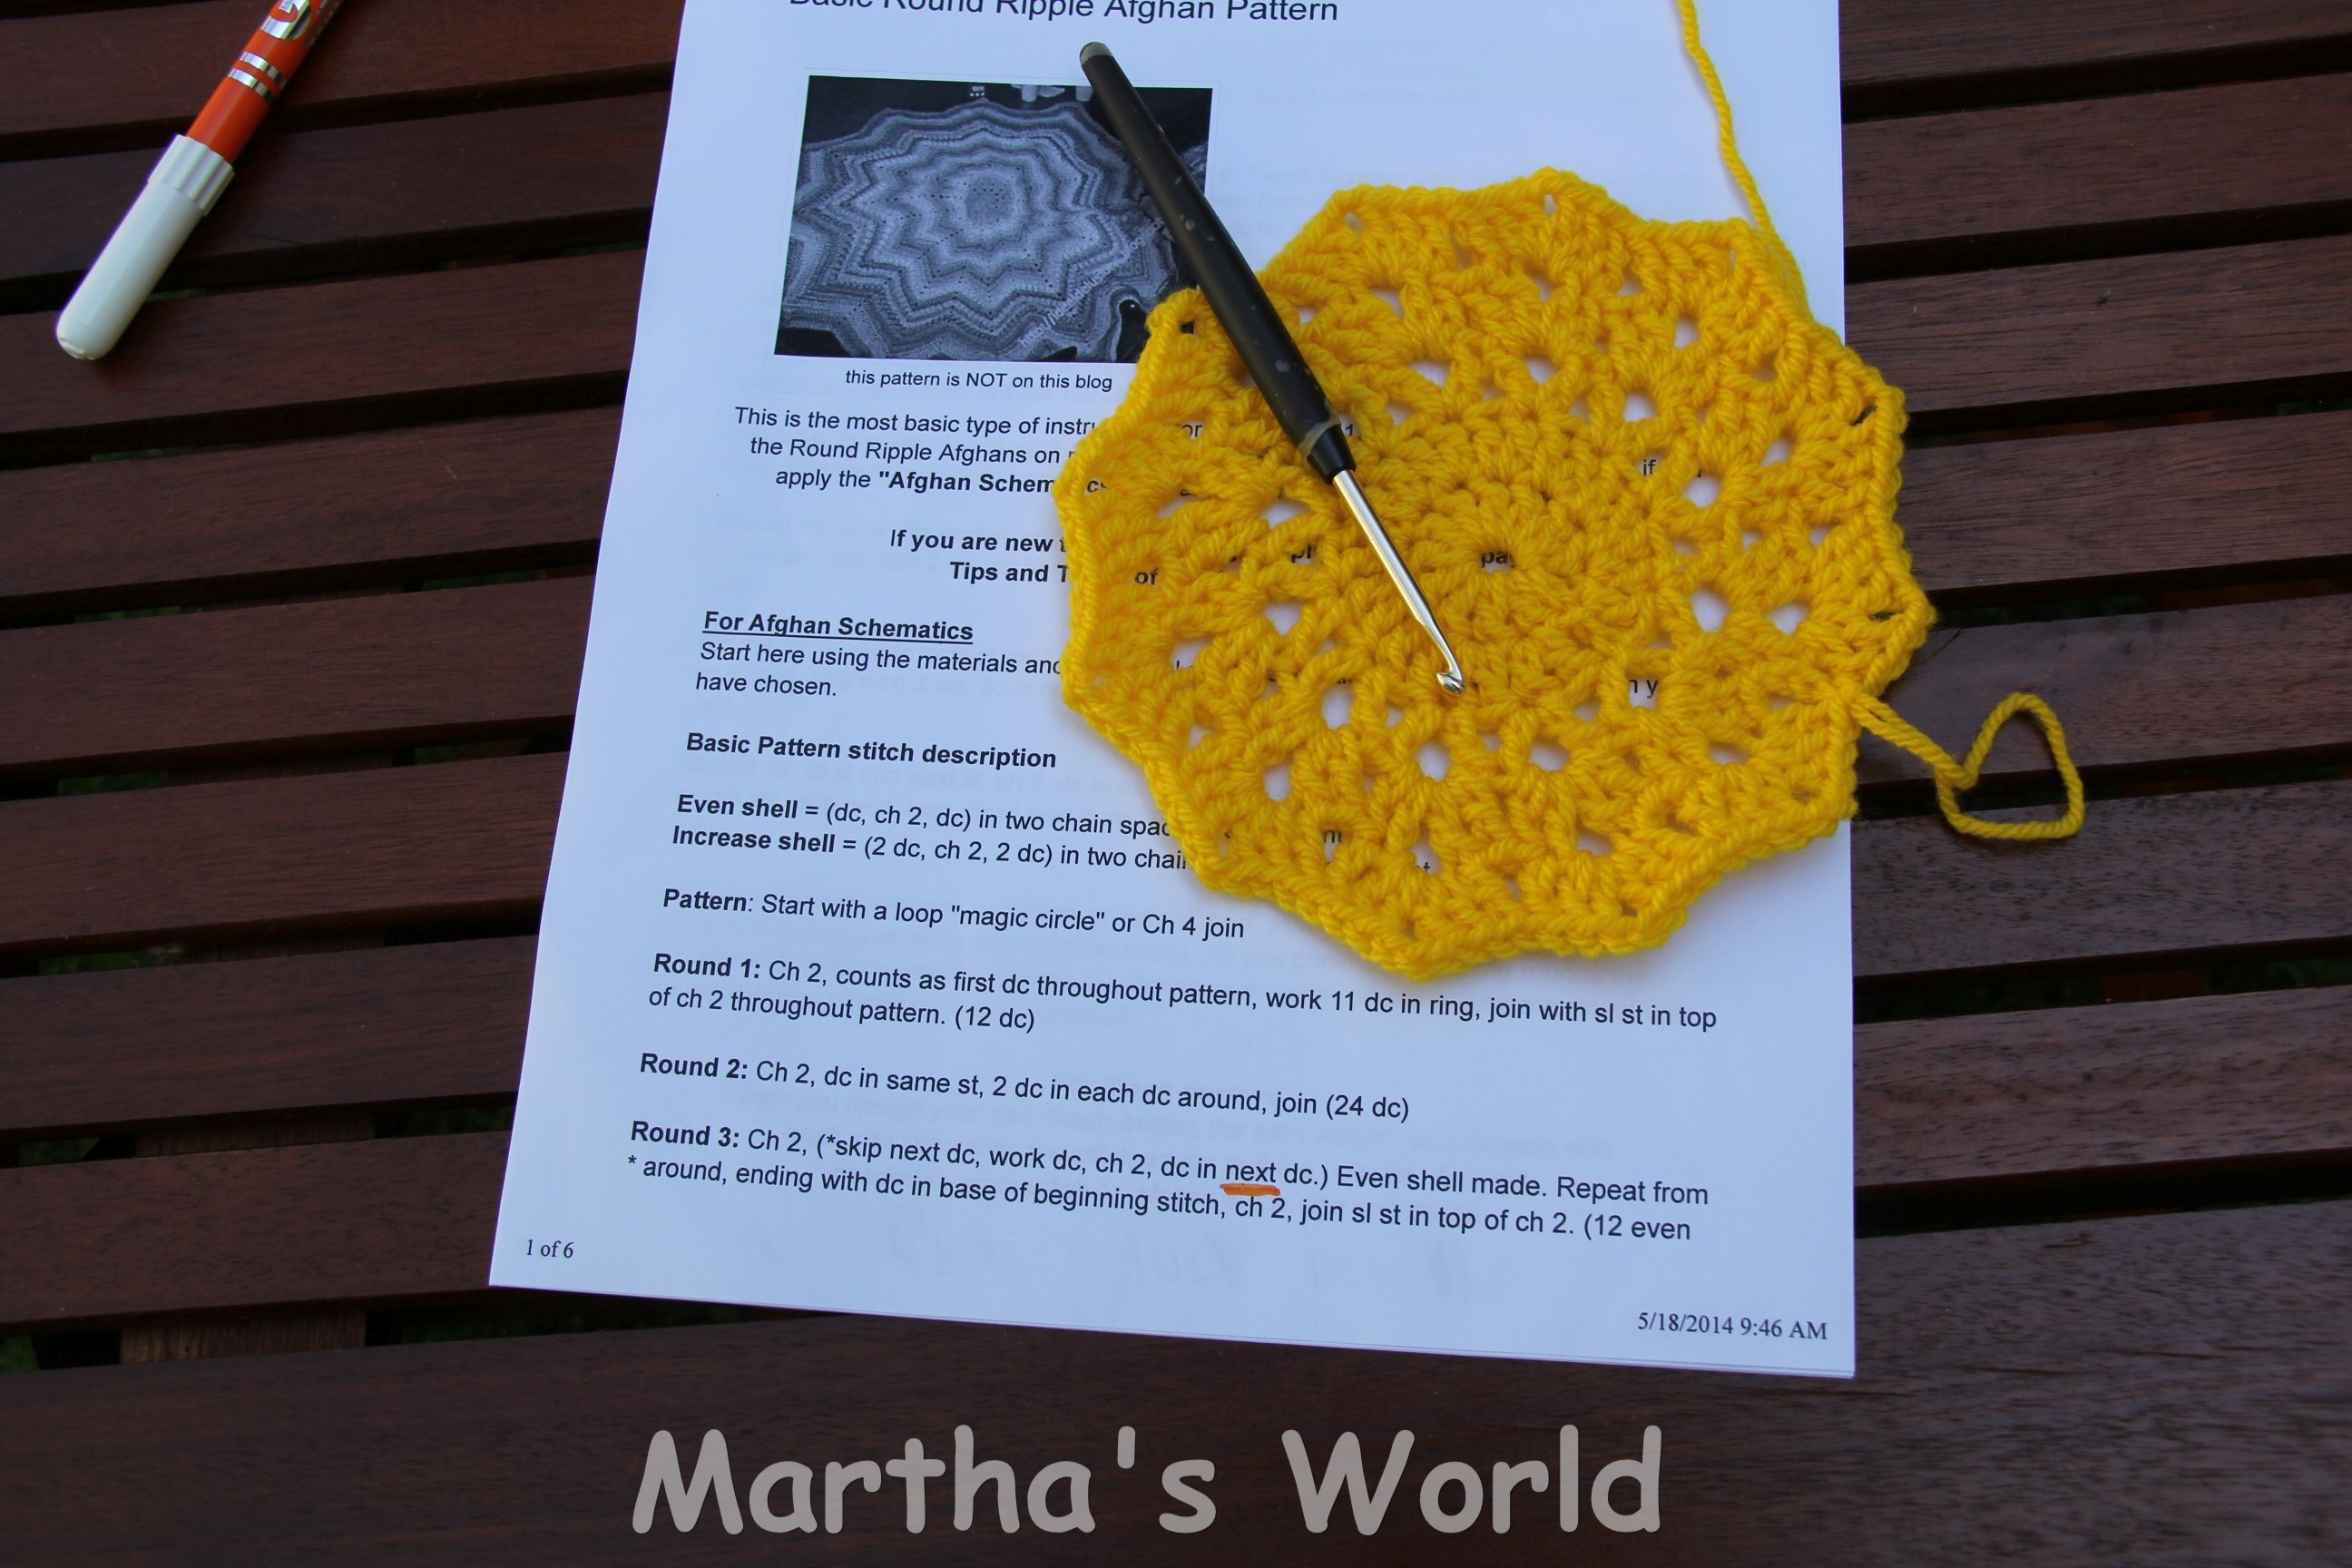
I used Basic Round Ripple Afghan Pattern by Ideal Delusions .
It is great! But at the beginning I made a mistake – apart from being excited and forgetting to count *who, me?? … cough, cough* – I misread a ‘tiny’ detail from Round 3 …
‘‘Round 3: Ch 2, (*skip next dc, work dc, ch 2, dc in next dc.) Even shell made. Repeat from * around, ending with dc in base of beginning stitch, ch 2, join sl st in top of ch 2. (12 even shells)”
I worked that ‘dc in the NEXT stitch’ literally… It could be written with one more pair of parentheses… for us who forget to count *cough, cough* … like this: ‘Round 3: Ch 2, (*skip next dc, work [dc, ch 2, dc] in next dc.) Even shell made. …..etc. ”
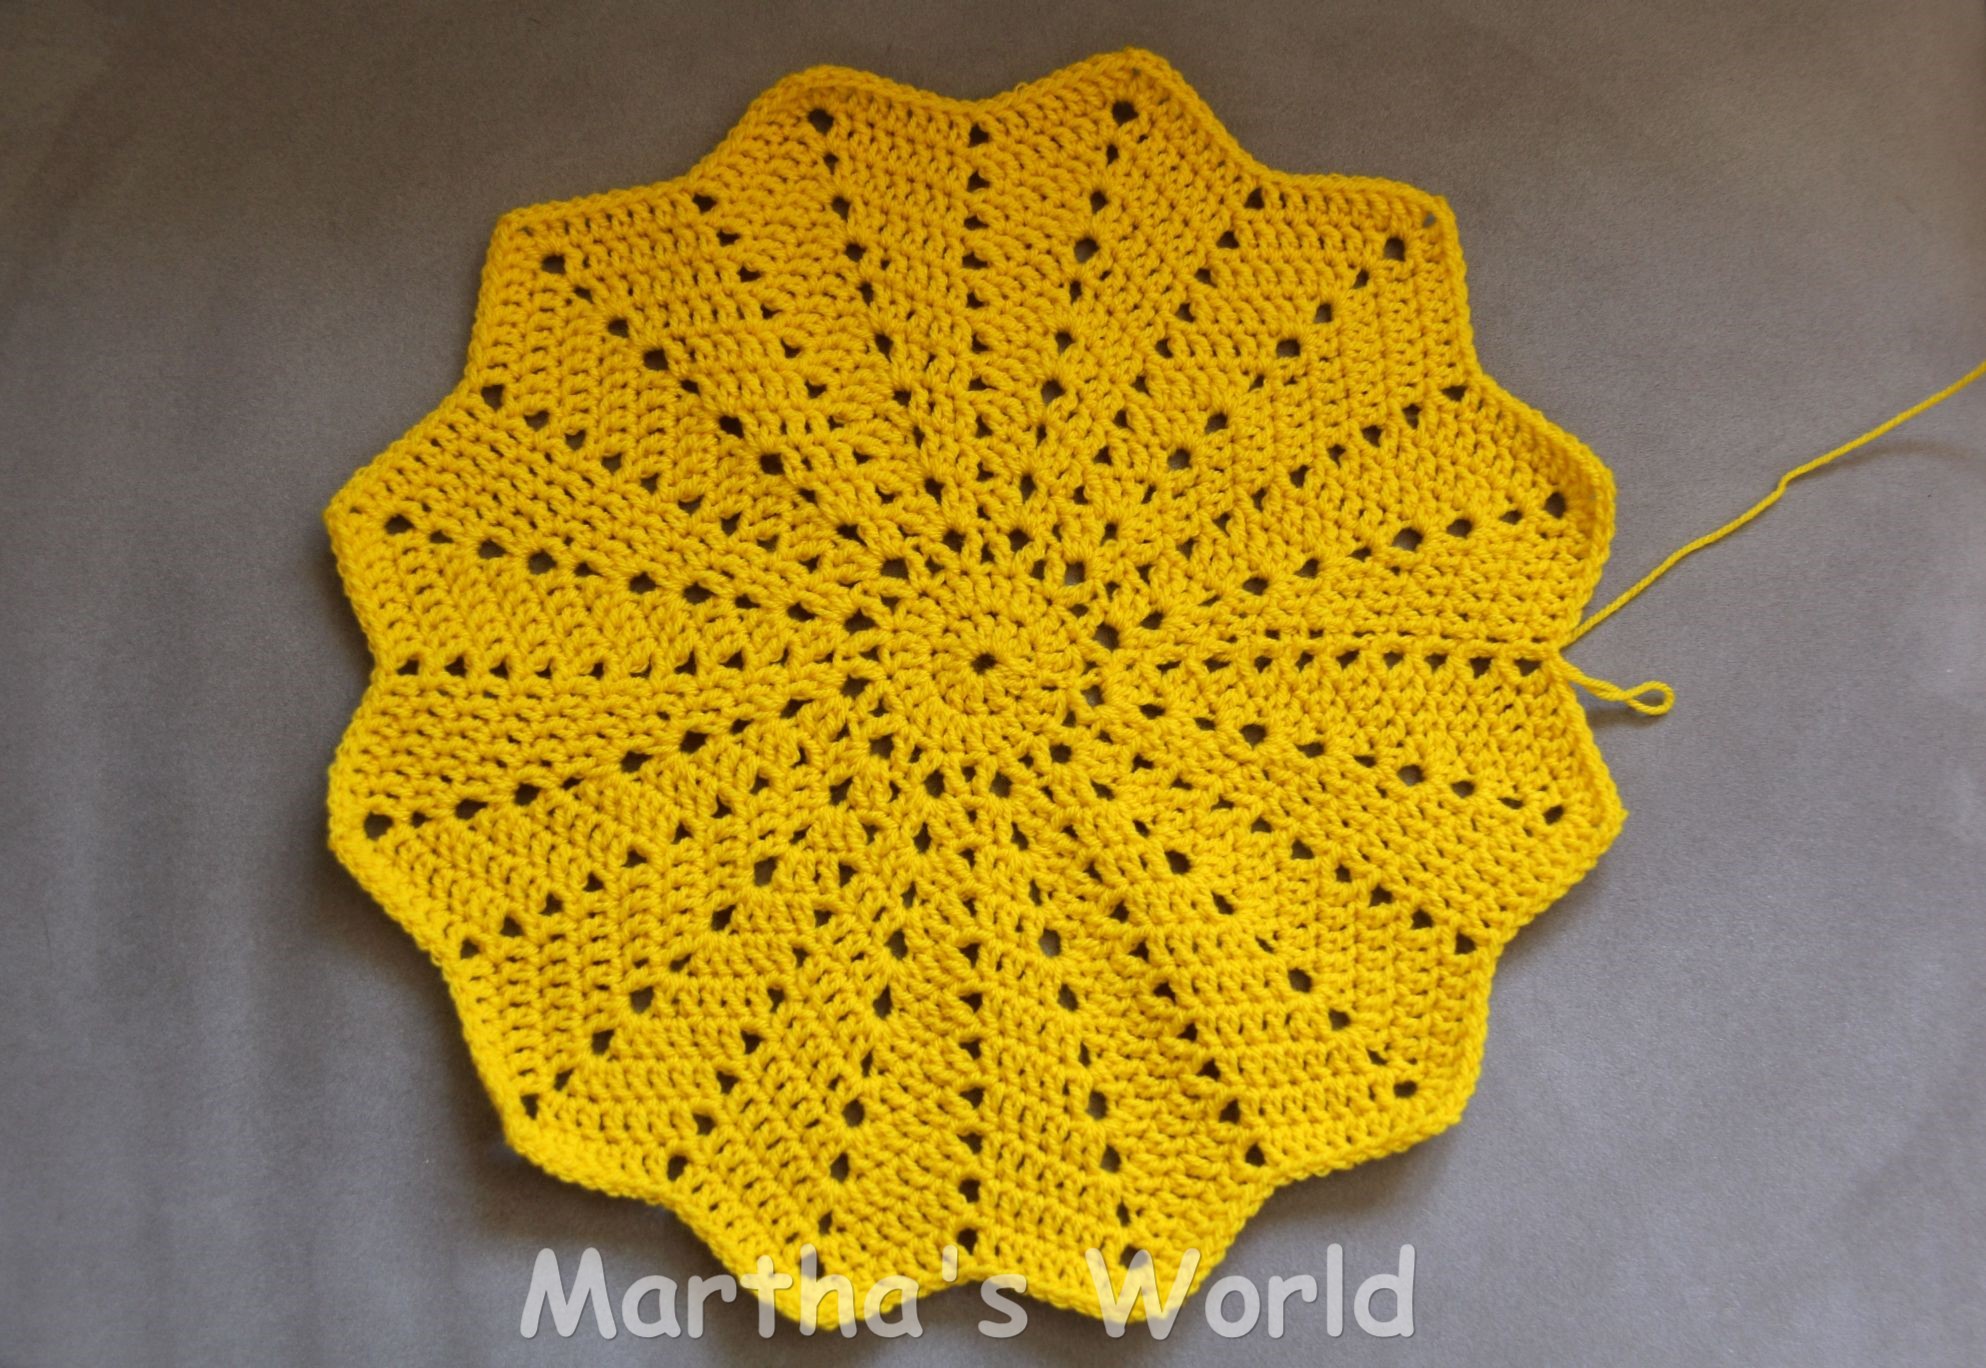
… And yes, I should count my stitches … But at that time I couldn’t see what I was doing wrong, after the second attempt and getting the ‘bump’ instead of a nice flat circle again – I was desperate and turned to one of my groups for help … Within minutes, one diplomatic comment: ‘Perhaps I’m wrong, but the one in the link has 12 points, it looks like you’ve only got 8. ‘ did the magic … How could I have EVER missed THAT!?
Some gasping, two minutes of frogging, and ♫ hi ho hi ho from magic ring I go ♪ 🙂
BTW, my first attempt reminded my fellow crocheters from CCC (Creative Crochet Crew Group) of an orange juicer! … LOL! Well it does look like one!
(maybe I could write a pattern for a juicer … nah …)
Anyway, Round Ripple works fast and I love it!
The other tutorial for Round Ripple pattern is very popular, too – Mickey’s ‘Crochet Round Afghan – Spectrum l’ video tutorial . You all know Mickey, from Crochet Crowd, thousands learn from him, so does yours truly 🙂 . Pattern for his Afghan is a bit different than the one I used, not only at the very beginning (first 5 Rounds) , but because in the pattern I used every third round has even (not increasing) corner groups!
At the moment link to Mickey’s diagram is broken, for those who like diagrams, here is the photo, (Photo Credit: Crochet Crowd)
copyright crochet crowd – round ripple diagram
One way or another, I love Sunshine, in my world Sunshine is written with capital ‘S’ … no surprise my ‘afghan’ is turning into something a bit different 🙂 ☼
***this pattern has been tested – if you will have a question or comment, please feel free to contact me (find the e-mail address on the main page) – Thank you!
*Please read complete pattern before you start crocheting
Hook #4
Yarn weight DK
Size: Average female hand
Terminology used – US
CH = Chain
SC = Single Crochet
DC = Double Crochet
SlSt = Slip Stitch
HDC = Half Double Crochet
SC-BLO – Single Crochet in Back Loop Only Special terms in this pattern
‘Shell’, ‘NDC Shell’= Indicated number (N) of DCs crocheted in the same stitch ‘Cluster’ = skip 2, SC, skip 2, 5DC Shell
Notes:
1. The Wrist part is crocheted in rows, the Main part in rounds.
2. At the beginning of each row of the Main part CH3 replaces one DC.
3. In all clusters – except the few made in the thumb part – SC is made in the TOP of the 5DC shell of the previous row, and 5DC shell in the SC made in the previous row.
4. The top of the 5DC shell is in (top of) the third DC.
5. The last stitch in most rows is Slip Stitch, for shells it is made in the space of the CH3, NOT in the top of the first DC!
The Wrist Part
Chain 15 (14 + 1) *Depending on the desired length of the wrist part, change this number
Row 1: crochet 14 SC-BLO, CH1, turn
Rows 2-28: Repeat Row 1 *Try the Wrist part, it should sit comfortably around your wrist, and you have to be able to pull the hand through. Add any even number of rows (2, 4 …) if needed.
Crochet the total of 28 rows of SC-BLO. 28 rows will make 14 ridges.
Fold the crocheted piece in half to connect two shorter sides together, SlSt through the 1st loop of the longer side, SlSt through both loops of all stitches in the last and the 1st row together.
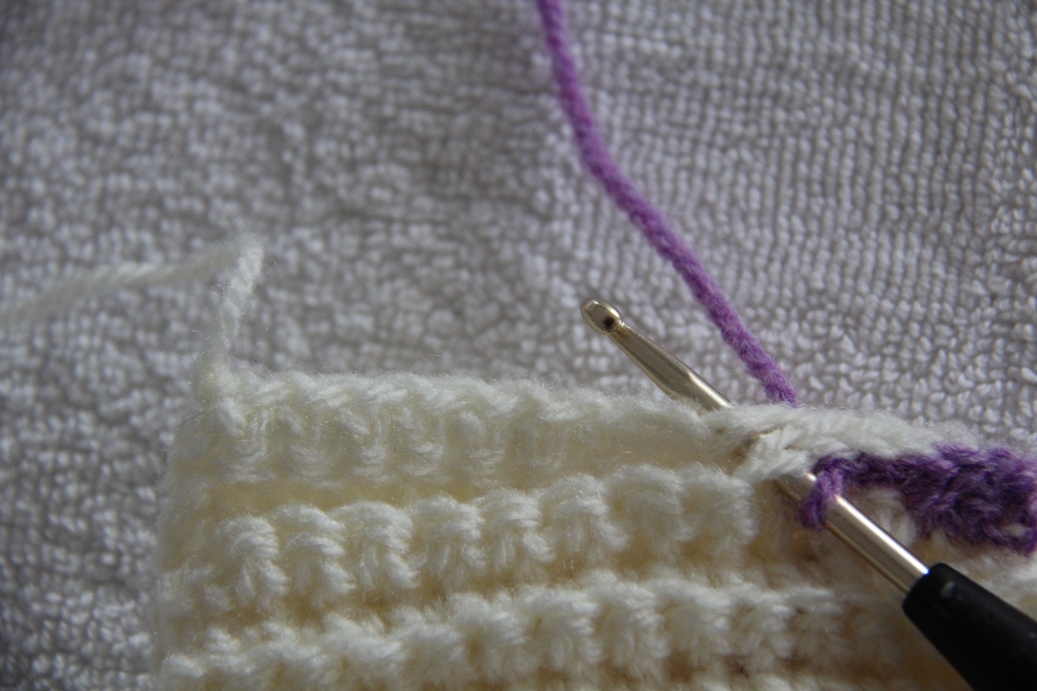
Connecting Wrist part with Slip Stitch with PURPLE yarn for the pattern purpose only 🙂
Turn the Wrist part inside out, and continue to the Main part.
The Main Part
*In the Row Zero of the Main part we will crochet 2 SCs per ridge made in the Wrist part. The number of SCs in this row has to be dividable by 6, because Shell Clusters take 6 stitches (30 stitches make 5 clusters). To obtain the needed number, add few stitches evenly throughout the Row Zero (if needed)
Row Zero CH 1, SC around, SlSt to the first CH (30) *count the stitches!
Row 1 CH 1, skip 2, 5DC Shell, 4 Clusters, join with a SlSt to the first CH. *Reminder: ‘Cluster’ = skip 2, SC, skip 2, 5DC Shell
Row 2 CH3, 2DC in the same stitch – this is the first half of 5DC shell. 4 Clusters, skip 2, SC, skip 2, 2DC in the very first stitch where you made the first 2DC – SlSt in the space of CH3 (not in the top of the DC!), this is the second part of 5DC shell.
Row 3 Repeat Row 1
Row 4 Repeat Row 2
Continue repeating Rows 1 and 2 until you make 8 Rows.
Row 9 CH 1, 2 Clusters, skip 2, SC, skip 2, 7DC shell, 2 Clusters, join with a SlSt to the first CH.
Row 10 CH3, 2DC in the same stitch, 2 Clusters. *We will work in the top stitches of 7DC shell now
Skip 1 stitch *not two !*, SC (in the second DC of the 7DC shell), skip 1, 4DC shell (in the fourth DC – that is the top of the 7DC shell), skip 1, SC (in the sixth DC), skip 1, 5DC shell, 1 Cluster, skip 2, SC, skip 2, 2DC in the very first stitch of the row – SlSt in the space of CH3.
Please notice that in this row we have one shell more than in any other row. In this case we have 6 shells!
Row 11
*In this row we will make the ‘Thumb hole’. CH1, 2 Clusters, skip 2, SC.
*This SC is made in the ‘top’ of the 5DC shell of the previous row (this same ‘top’ will be used again, in the Thumb part!). Chain 7.
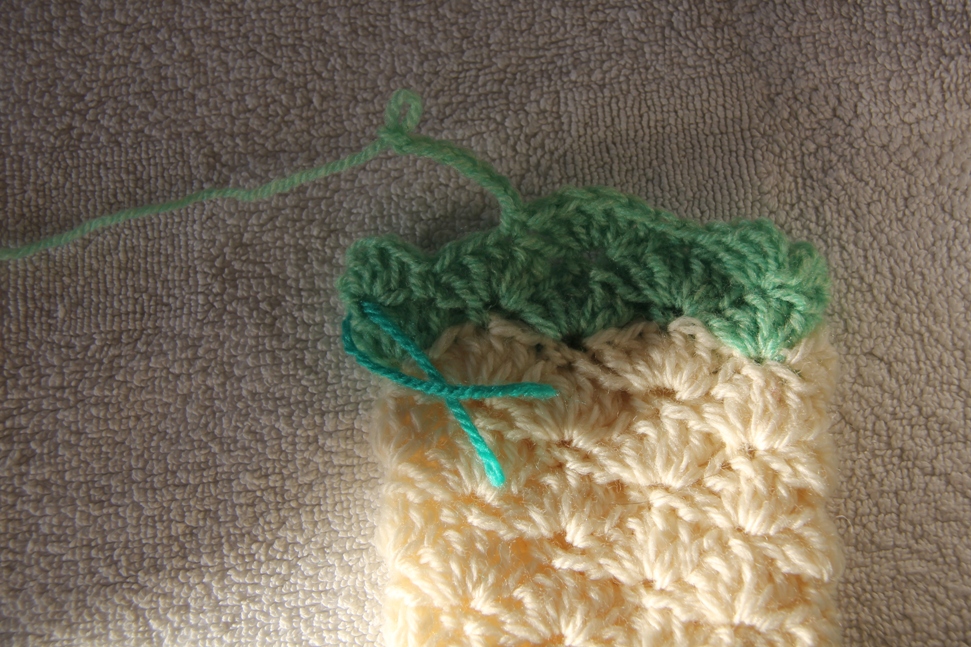
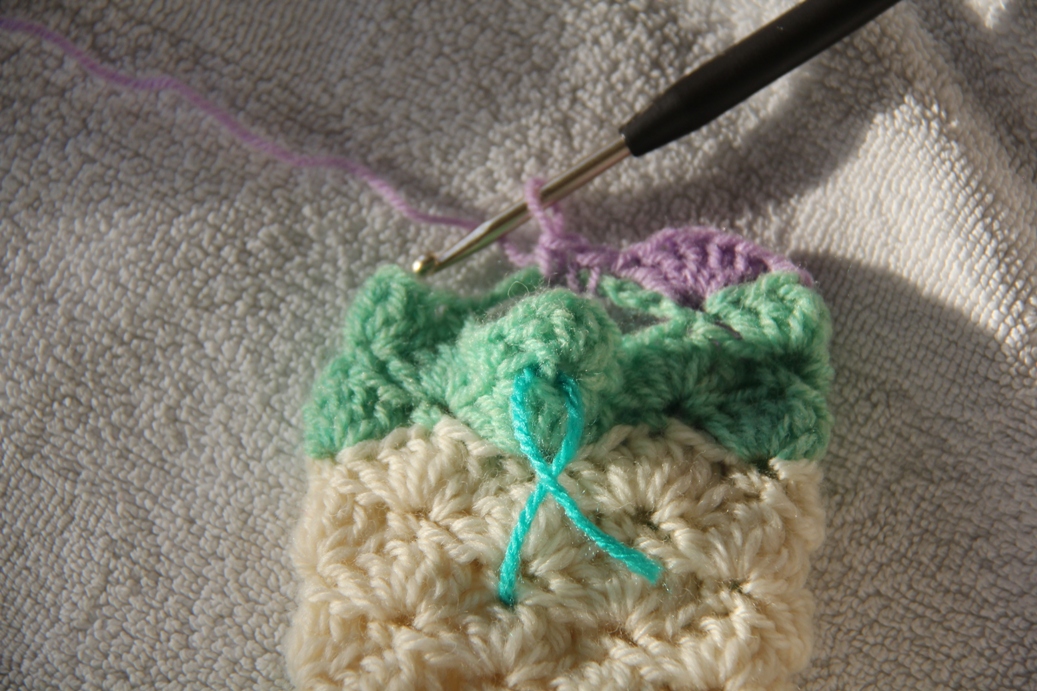
Rows 9, 10 and 11 are crocheted in GREEN for the purpose of this pattern only
SKIP the group: SC, one shell, and one more SC – and SC in the top of the shell after it!
Rows 9, 10 and 11 are crocheted in GREEN for the purpose of this pattern only
(that ‘top’ will also be used in the Thumb part!). Continue: skip 2, 5DC, 1 Cluster; join with a SlSt to the first CH.
*The first Row of the thumb will be made later in the stitches of the Row 11 that we have skipped for now.
*Few stitches after you have chained 7 chains is the good stage to try the mitten on, to make sure the thumb hole is big enough. If needed, make longer (or shorter) chain.
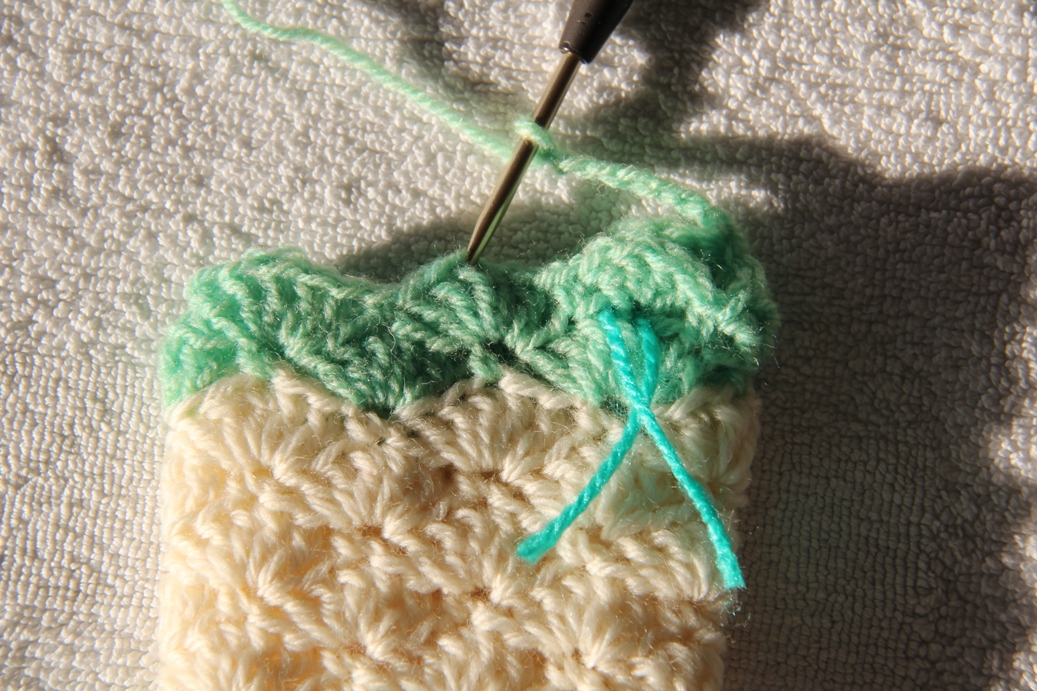
Row 12 CH3, 2DC in the same stitch, 2 Clusters, skip 2, SC TWO *not one! in the 7 chain space, 5DC, 1 Cluster, skip 2, SC, skip 2, 2DC in the very first stitch of the row – SlSt in the space of CH3.
*When we start crocheting the thumb, yarn will be joined between these two SCs!
Rows 12 is crocheted in PURPLE for the purpose of this pattern only
Row 13 Repeat Row 1 *In this Row the third 5DC shell will be made in the chain space between 2SCs.
Row 14 Repeat Row 2
Continue repeating Rows 1 and 2, make 17 rows in total.
*If your palm is longer, or you want a longer mitten, add a row or two.
Row 18 CH 2, HDC around, SlSt to the first HDC Fasten off, and wave in the end
The Thumb
Row T-1 Join yarn between 2 SCs made in the Row 12. 5DC shell in the top of the 5DC shell of the Row 10, (we mentioned this ‘top’ in the Row 11 description!), skip 2, SC in the SC of the previous row, skip 2, 4DC shell in the top of the 4DC shell of the Row 10, skip 2, SC in the SC of the previous row, 5DC shell in the next top of the 5DC shell of the Row 10, skip two, SlSt in the space between 2 SCs made in the Row 12.
Row T-2 CH3, DC 1 in the same stitch, skip 2, 3DC shell in the next SC of the previous row, skip 2, SC in the top of the 4DC shell of the previous row, skip 2, 3DC shell in the next SC of the previous row, skip 2, DC in the very first stitch of this row, SlSt in the space of CH 3.
Row T-3 CH2, HDC around, SlSt in the space of the CH 2
* if you want longer ‘thumb’ repeat row T-3
Fasten off, and wave in the end
Turn the mitten inside out and wave in the ends.
Left and right mittens are the same, so make another one
Enjoy!
Martha
With many thanks to Crochet Masters Lisa and Kinga for their support